Things that blow up or launch are irresistibly cool. So, I was excited when our oldest, aerospace-obsessed son, Prentice, decided to buy an amateur reusable rocket kit.
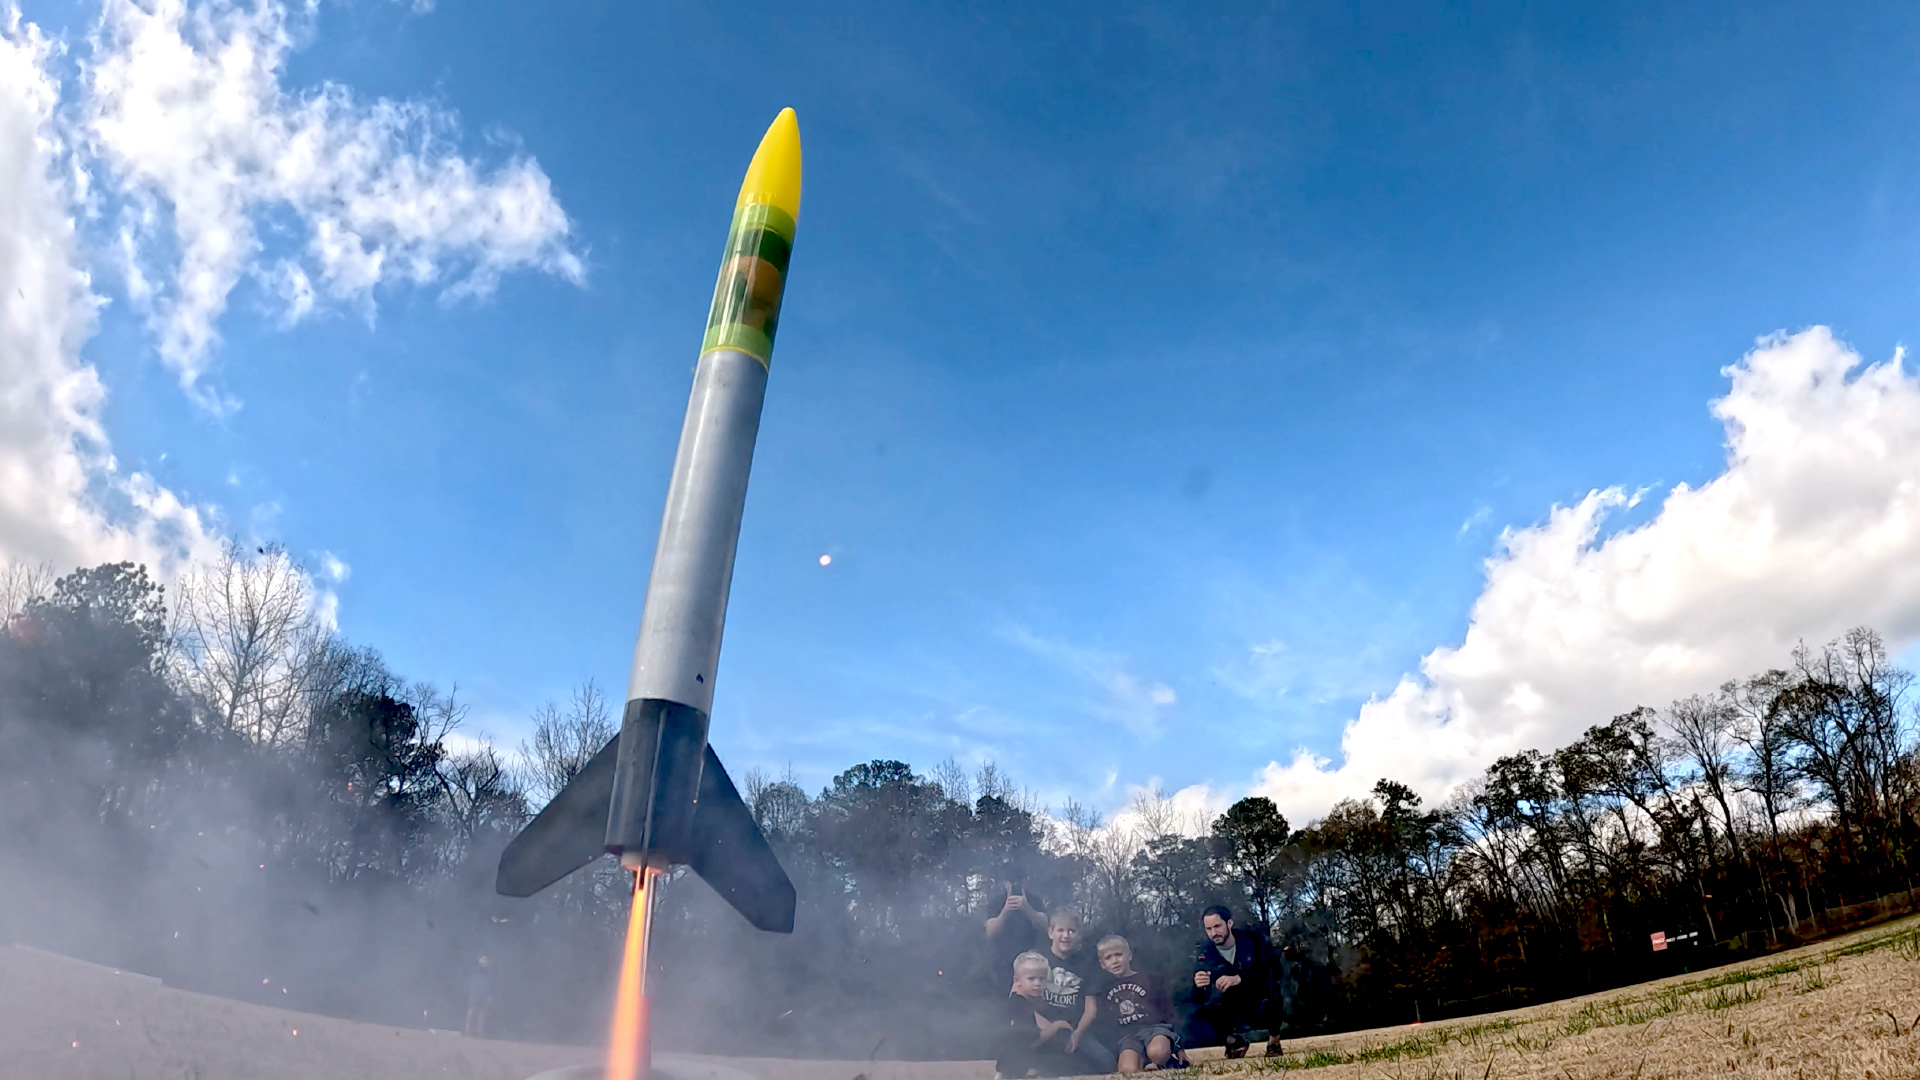
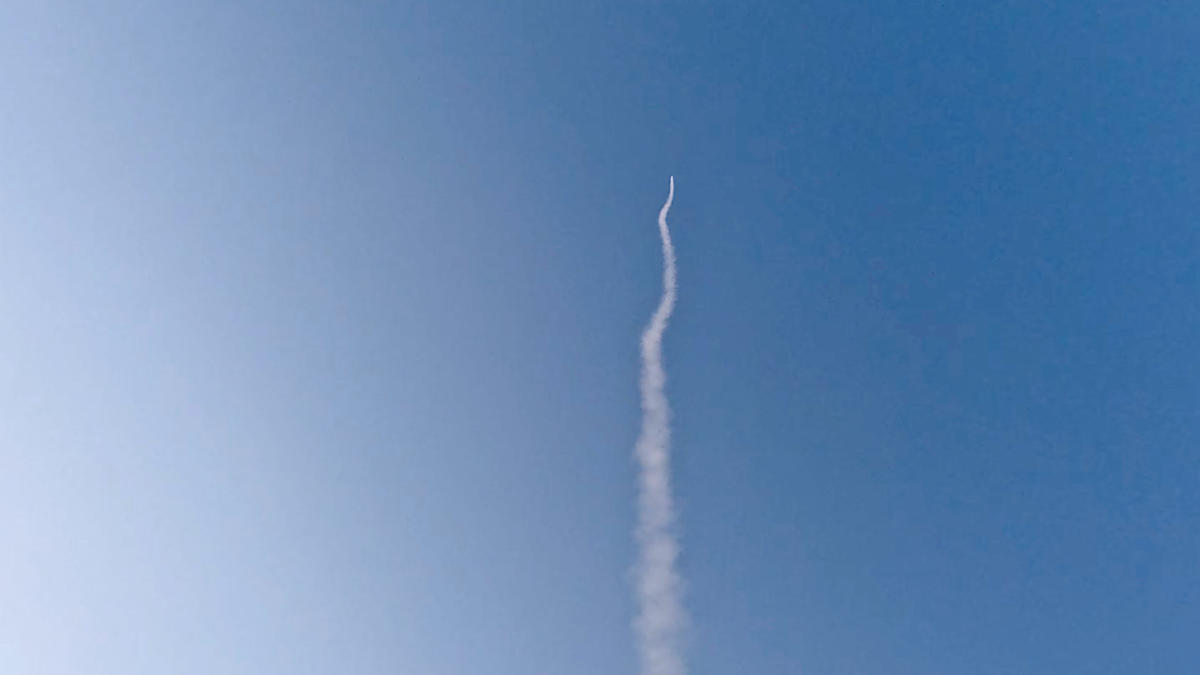
Fast forward a bit. We were standing in the middle of an empty football field, ready for launch. The countdown began: ten…nine…eight… When we got to one, Prentice eagerly pressed the launch button. There was a violent hiss, and his rocket soared up into the sky. Then there was a slight puff, and the parachute deployed. Success!
We started sprinting towards the descending rocket. But it wasn’t getting closer. Turns out, at 900 feet, the air current can be quite a bit stronger… and it was drifting fast. We kept running. But as the rocket disappeared over the dense woods that surround the park, our son burst into tears. His hard-earned money vanished among the branches along with his dreams of joining NASA. We searched for an hour, but it was gone.
I posthumously dubbed that rocket “Waterworks II”. (I’m guessing it will be the topic of discussion in a professional counseling session someday.)
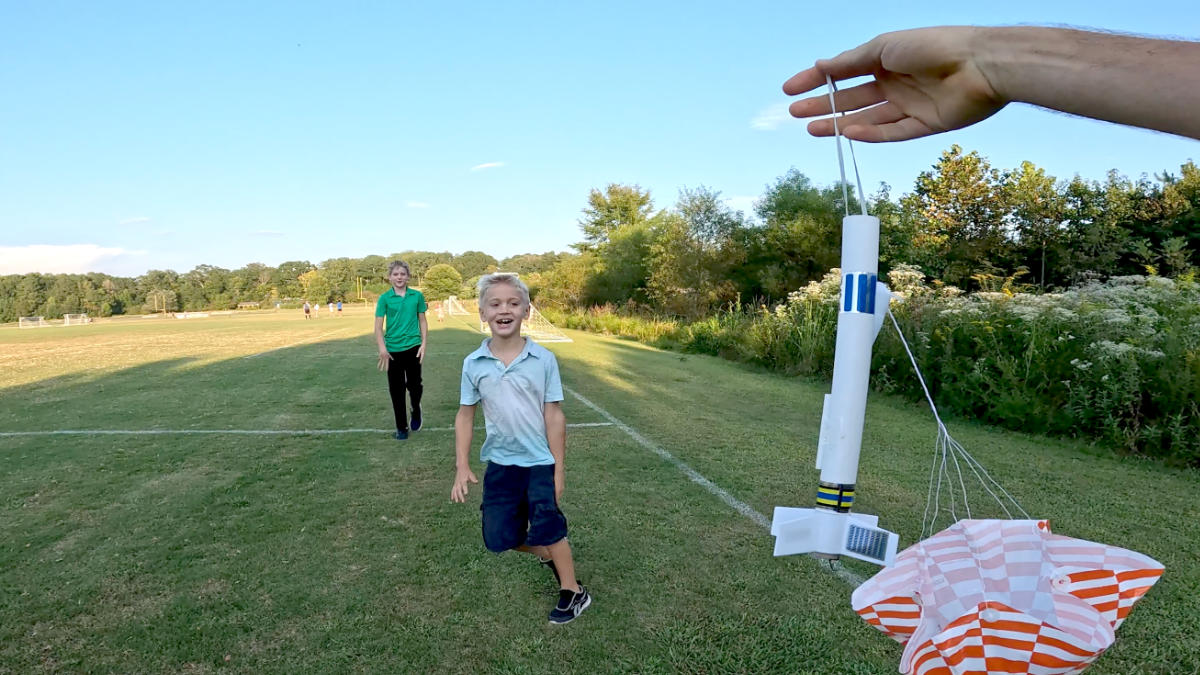
In any case, we attempted the process again later and achieved several successful launches and recoveries. So, here is the bottom line: rocketry is really cool, and I highly recommend it for kids interested in STEM. But the learning curve can be steep. Hopefully, this guide will pass on some of the things we’ve learned the hard way, so you can keep your tears-to-fun ratio a bit more in balance.
To get started, you’ll need to pick a rocket system. We’ve been using Estes Rockets, and I highly recommend them. The instructions are clear, and their customer support has been top-notch. You can find their products in stores like HobbyTown, or you can order from their website or Amazon.
There is a wide variety of rockets, from very small and straightforward to massive and extremely elaborate. Some have cameras, some have space for a payload, while others have multiple stages. You can also find accurate models of historic rockets, such as the Saturn V. However, for a beginner, keep it really simple.

Here is what you’ll need:
A rocket or two. Look for something rated for beginners. This primarily refers to the amount of work required to build the rocket before it can be flown. Start with cheaper options you don't mind destroying – some of our most successful launches have been with the Generic E2X.
Engines: This is what powers the rockets. They usually come in packs of three or four with starters and plugs. There are various sizes and power ratings available. You'll need to find something that fits your rocket, but I recommend starting with a standard size with a medium to low power rating, such as an A8-3, and then working up from there.
Quick side note: The first letter/number, such as "A8," represents the overall power rating. "A" engines have roughly half the power of "B" engines, which in turn have half the power of "C" engines. The number after the dash is the delay in seconds before the parachute charge fires. Longer delays mean the rocket will fall closer to the ground before deploying the chute.
For reference, here are the expected altitudes for standard-size engines:
Launch pad and controller: They have a few different versions, but we just got the cheaper one. The rod the rocket slides along is very fragile where the different pieces fit together, so we often just use the bottom part of the rod. The control connects to the starter in the engine so you can push the button to launch.
Recovery wadding: This fireproof paper goes between the rocket engine and the parachute. A single bag of this stuff will last for a whole lot of launches.
If you want to keep things really simple, they do have starter kits that include all of this in one box for about $55. But don’t forget batteries for the launch controller before heading out. Yes, we did that too.
Many Estes rockets require some assembly. Difficulty ranges from beginner, where you are basically gluing a few things together, to advanced and beyond, where you will be sanding, cutting, and crafting.
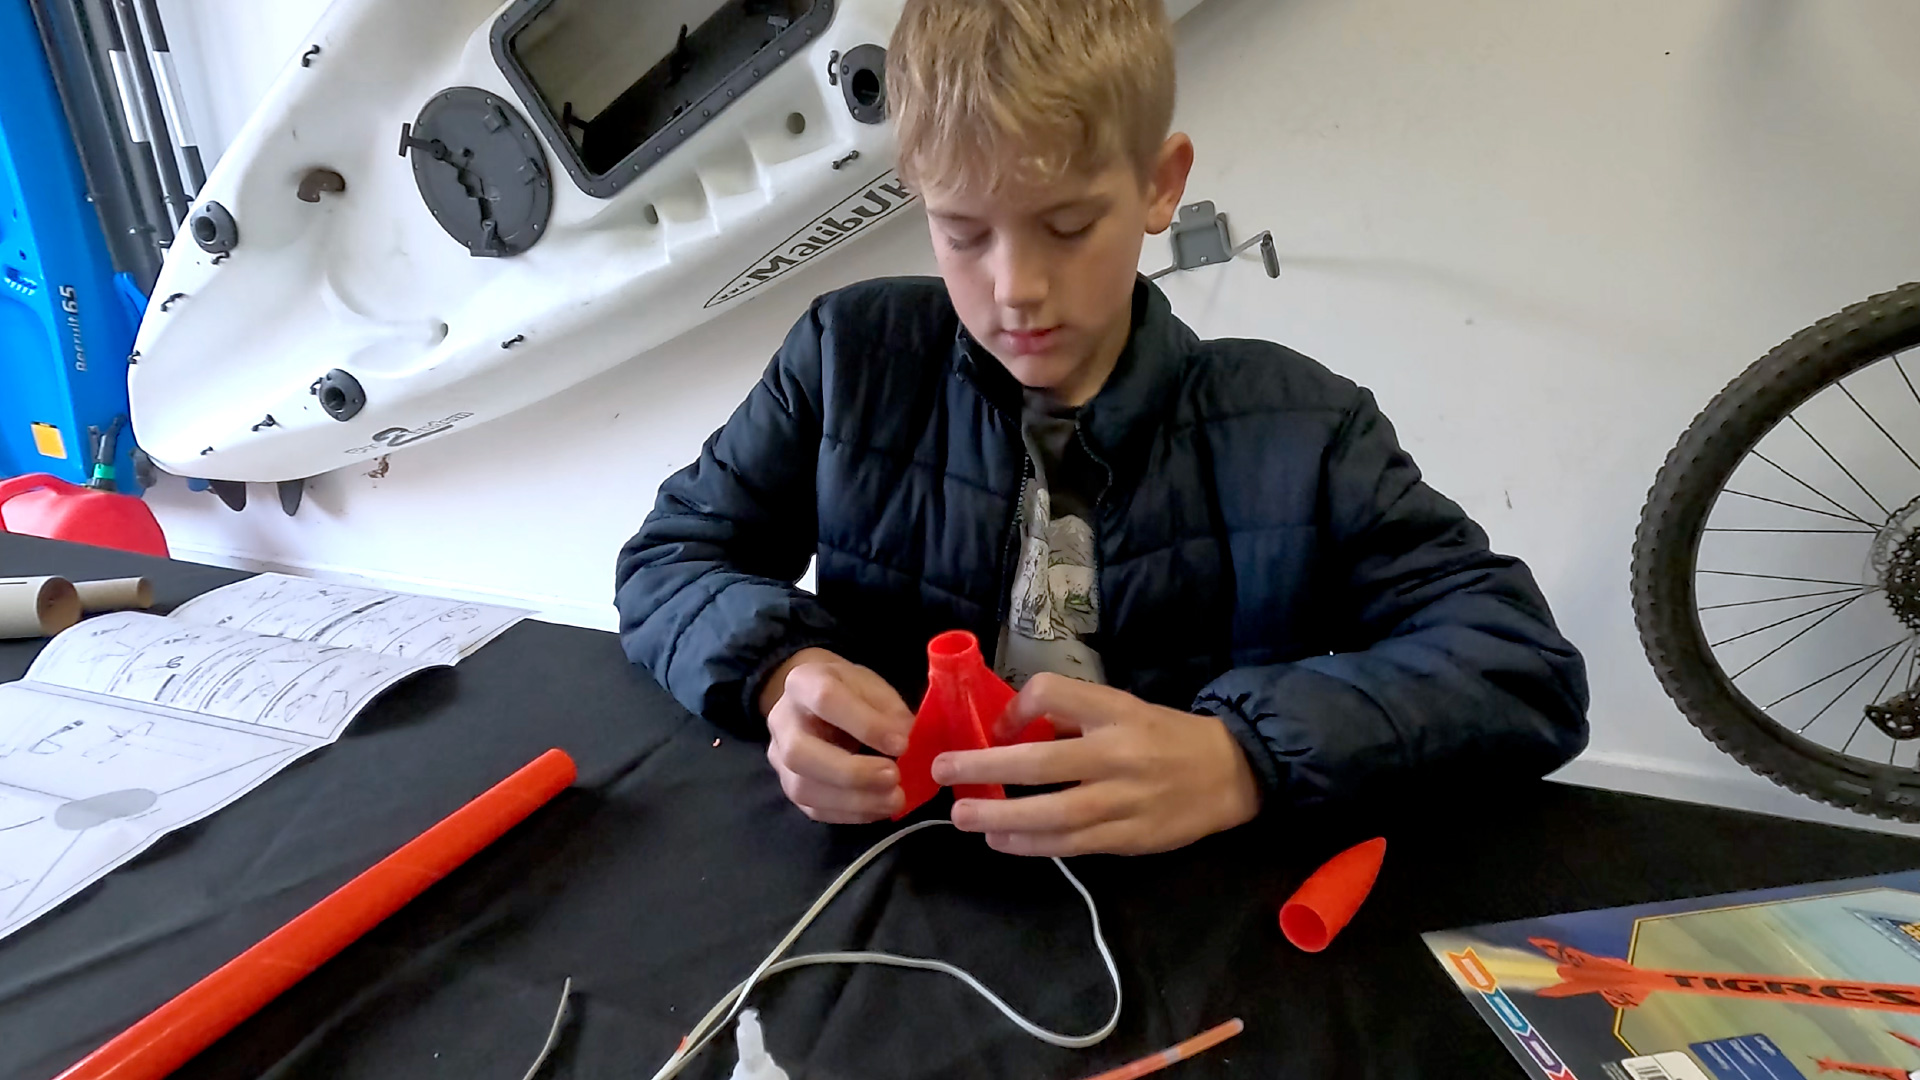
For reference, our eleven-year-old can complete the beginner kits independently, but our seven-year-old needed help. If you have older kids, you might want to go more advanced, but frankly, I'd keep it simple to start. Keep in mind, you are probably going to lose or destroy your first rocket. Just saying.
There are different rules and regulations related to launching amateur rockets in various areas, so it may be a good idea to conduct a quick search to find a suitable launch site near you. Frankly, we've just used a random public soccer/football field in our area when it is mostly empty and have never had any problems. But we're also in a pretty chill area.
Once you arrive at your launch site, it's time to select a suitable spot to set up your launch pad. The biggest thing to keep in mind is that your rocket will not come straight back down. If you're working with limited space, it can help to launch from the edge of the available clearing with the rod on your launchpad slightly angled toward where you want the rocket to go. Try to account for any wind. Also, the sun. It can be tough to see if you're half-blinded.
Next, you'll need to pack the recovery wadding, chute, and engine into your rocket, then insert the starter and connect it to your launch controller. Place the rocket on your launchpad and FINALLY, everything is ready.
TBH, there isn't much to say here. If all your preparations were done correctly, the rocket should shoot up into the sky, fall for a few seconds, then deploy the chute and float gently down into the hands of your ecstatic child. If it doesn't work that way, you'll have an excellent opportunity to discuss the value of Stoicism.
Launching rockets is a great way to get kids interested in the science behind rocketry as well as the history of the space program, which is quite fascinating. There are also frequent SpaceX launches that you can watch live on YouTube, which feel more relatable once you've sent your own contraptions soaring.
But even if you don’t learn more than how to build and launch your own rockets, it is well worth the effort and a great way to spend time together.
Happy launching!
