☝️ Watch the full build in the video above.
Looking for an easy woodworking project you can do on a Saturday afternoon that your kids will love? This wooden tugboat is a great beginner carpentry project for kids, takes about an hour to build, and ends with a real test run in a creek, lake, or bathtub. We built ours using only hand tools to make it a bit more of a challenge, but an electric drill and saw work just fine if that's what you have.
Good project for kids around ages 6 to 10, though younger kids can help with sanding and painting with some supervision.
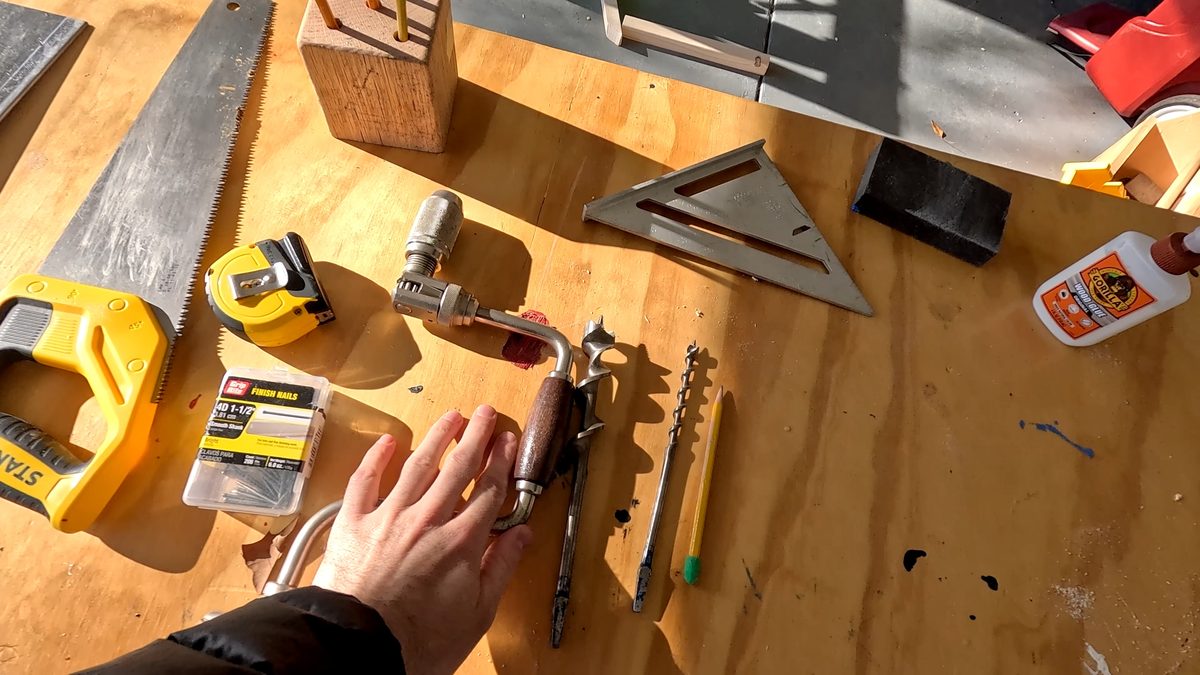
Tools:
Materials:
Cut two pieces from the same lumber at 6 inches and 9 inches. These stack on top of each other to form the cabin. Trim both pieces down to 3.5 inches wide, roughly the same as a standard 2x4.
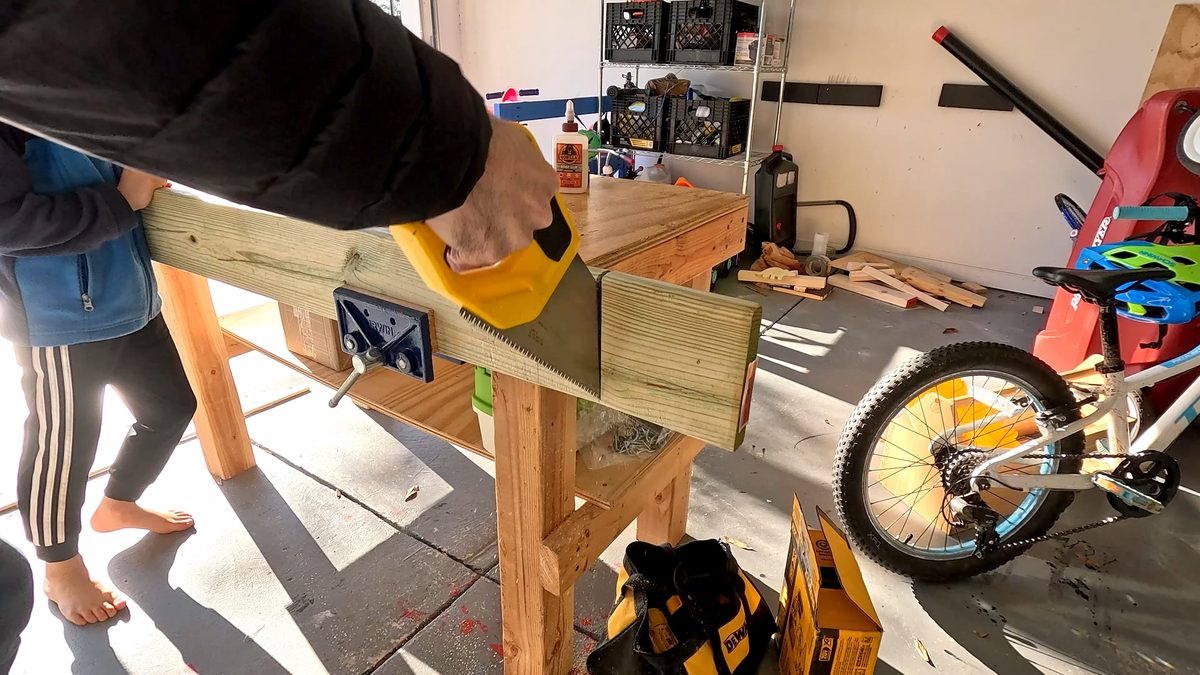
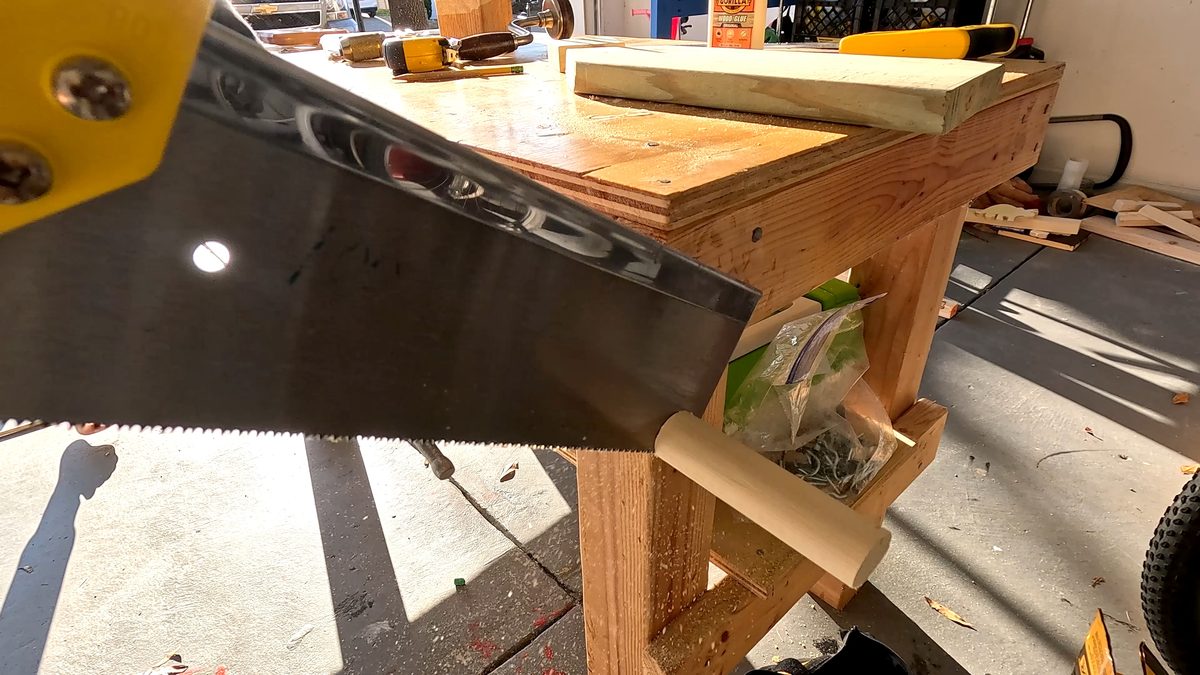
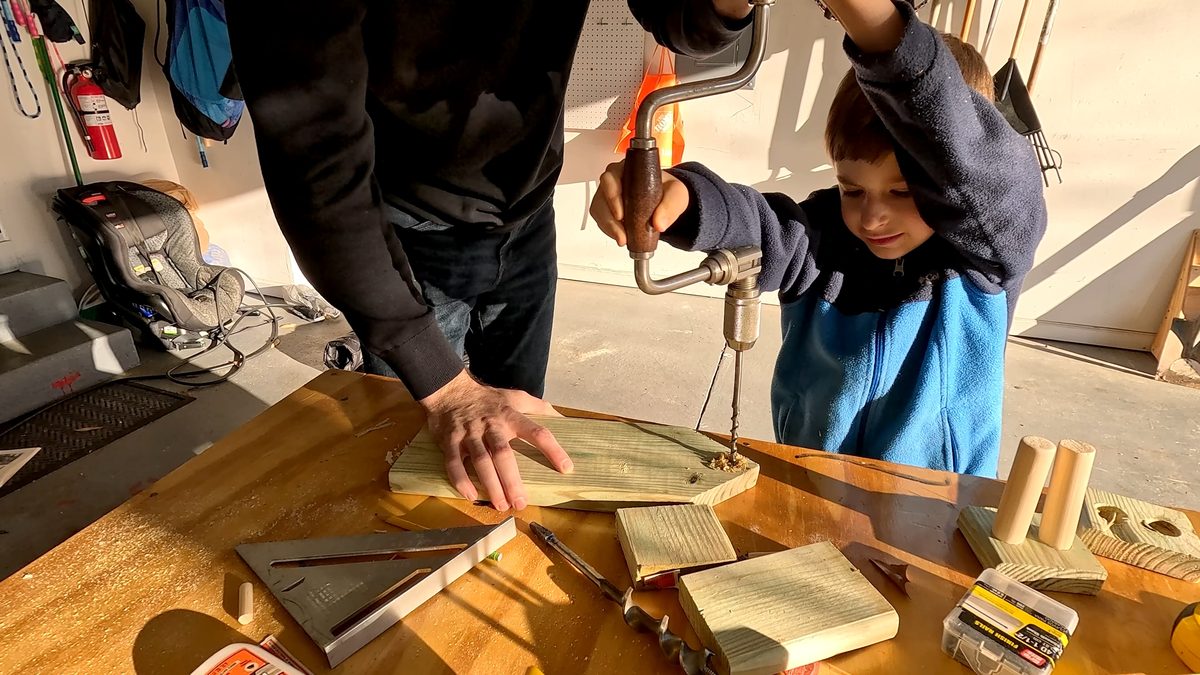
From your 5/4 x 6 lumber, measure and make a line across the board at 12 inches, then also at 18 inches. Now use a carpenter's square to make an X between the line at 12 inches and the line at 18 inches. This is where the bow of the boat comes to a point. Now cut out the hull.

From your 1-inch dowel, cut two pieces at 4 inches each. These become the smokestacks. From the 3/8-inch dowel, cut two pieces at 1.5 inches.
Mark two spots on the top cabin piece for the smokestacks, roughly 1 inch from each end and centered. Drill through with the 1-inch bit. Take your time here and be careful near the edges. If a piece cracks, cut a fresh one. It can help to drill smaller pilot holes first, then use the larger drill to get the final width.
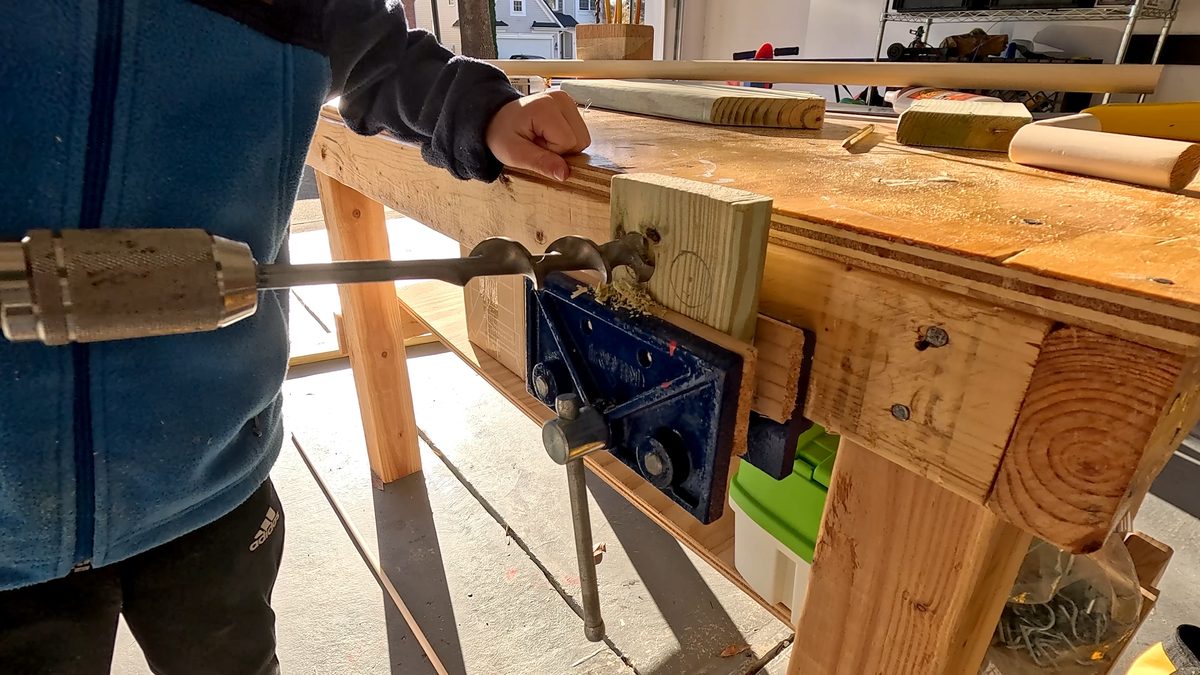
Next, drill two 3/8-inch holes in the top of the main hull that are centered and roughly 1 inch from either end. This is where the small dowels will go.
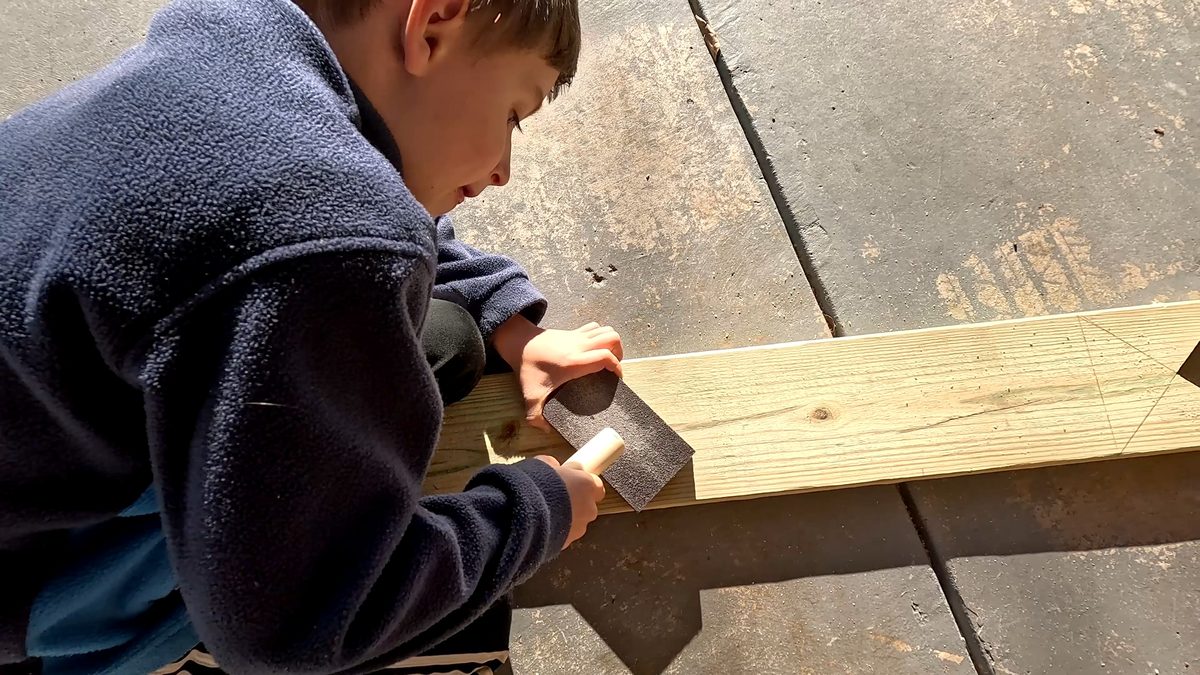
Before assembly, sand all the pieces smooth. This is a great job for younger kids and makes the finished product look a lot cleaner.
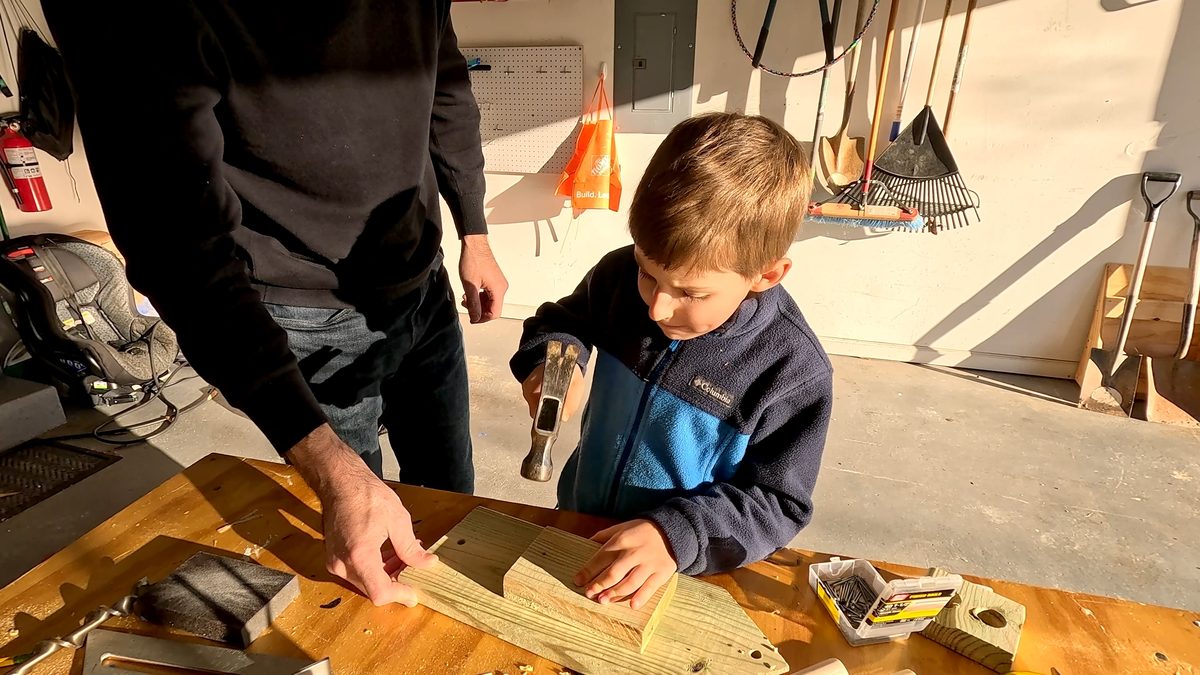
Stack and nail the cabin pieces together, then attach the cabin to the hull. To avoid splitting the wood, drill small pilot holes where your nails will go. Apply wood glue before nailing for a stronger bond. Insert the 1-inch dowel smokestacks into the large drilled holes with a little glue to hold them in place. Do the same for the smaller dowels on front and back of the hull.
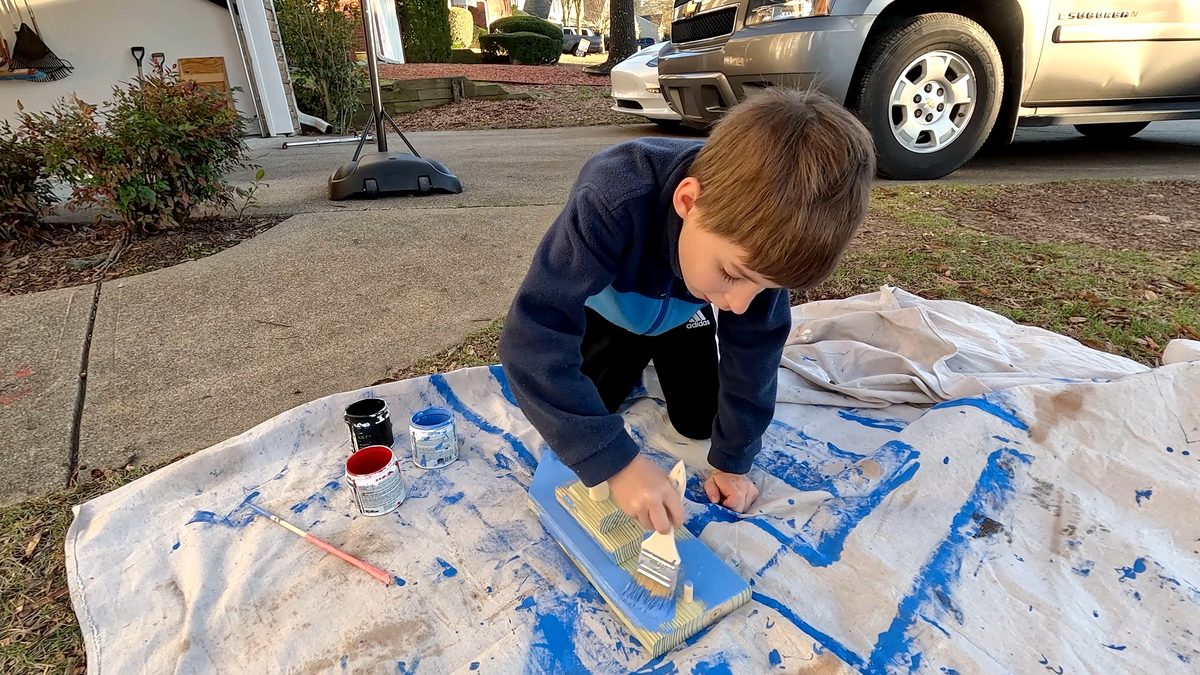
Hand this part off to the kids. Let them pick the colors and go to town.
Once the paint dries, find a creek, pond, or bathtub and launch it. A note on the wood: we used pressure-treated lumber, which holds moisture and can sit a little low in the water until it fully dries out. Let it dry for a few weeks after the first float and it'll ride noticeably higher.

Hand tools are worth trying if you have them. It slows things down in a good way, kids can participate more safely, and there's something satisfying about building something without power tools. A brace and bit hand drill is a fun piece of kit if you can find one at an antique store or online (Ted Dawson Antique Tools). That said, a standard drill gets the job done just as well.
Let kids make real decisions. Where to put the smokestacks, what colors to paint it, how to sand. The more ownership they have over the build, the more they care about the finished product.
Don't stress perfection. Wood cracks, measurements are off by a hair, paint gets on things it shouldn't. None of that matters. The boat floats and the kids built it.
Pressure-treated wood needs time to dry. If you want it to float higher right away, use untreated pine or cedar instead.
This is a great first project for kids who haven't used real tools yet. Once they've built something that actually works and floated it in a creek, they want to build the next thing. If they're ready to step up the challenge, check out our DIY bike ramp build for the next project.
