It’s late in the evening, and I’m knee-deep in building an epic (overkill?) backyard tree fort for my kids, complete with a lookout tower, trap door, bunk beds, solar lighting, and a pulley. I have no carpentry experience, and I’m low on energy, but to my kid-helpers, “Dad can do anything.” And I’m not about to prove them wrong.
This article shares not only the backstory and building process, but also provides links to the free plans I used, how I included the kids, things I would do differently, and detailed notes at the end. You can either be entertained or inspired to go build it yourself!
A picture is worth a thousand words, so here’s a short video overview of the project and a walkthrough of the finished treehouse your kids will love to watch:
Does building a treehouse need justification? In all seriousness, for me, it was more than just a fun building project. In our consumeristic, factory-made society, I think it’s important for kids to develop an awareness of how things are made. Overall, it builds confidence, work ethic, and appreciation for craftsmanship. Merely purchasing something, hiring it out, or understanding it in the abstract is very different from actually building it yourself.
My kids are generally eager to do things themselves (“No, Dad, let me do it”), and your kids probably are too. This is a good impulse. In times past, I think kids were much more independent, and we often underestimate what they’re capable of. My goal was to involve the kids in everything I could by making it a fun family project that introduced them to carpentry skills and the idea that you can build things yourself. And I knew I’d be learning right alongside them.
I was also inspired by the book Carpentry for Children by Lester Walker. Our kids built several of the projects from the book and the preface by the well-known David Macaulay puts it well:
“[This book’s ultimate purpose] is not, it seems to me, to fill the reader’s house with wooden objects, but to fill the reader’s mind with a sense of order and process and an appreciation of craft. While the projects encourage and build confidence, they also impart an awareness of materials, an appreciation for and knowledge of tools, along with the development of certain basic skills. They introduce the concept of patience, which — at least early on — is invariably locked in mortal combat with enthusiasm. All of these ingredients combine to create the possibility of craftsmanship. And when craftsmanship and imagination are combined the real fun begins.”
My house backs up to the woods, and we wanted our kids to be able to play there, but the hill is very steep. I built some stairs to my backyard and then wanted to put something in the space below (scope creep!). I’ve always thought treehouses were cool, and when I was a kid, my brother and I nailed plywood to trees and made a fun but slightly sketchy treehouse. But in my own yard, there were no suitable trees, so I started looking for plans for a raised, clubhouse-style design.

After some research, I stumbled on a few inspiring designs that I immediately fell in love with. As mentioned, I have no carpentry experience (just basic DIY skills) so I knew this would be an ambitious project. But the directions were detailed, so I decided to take the plunge.
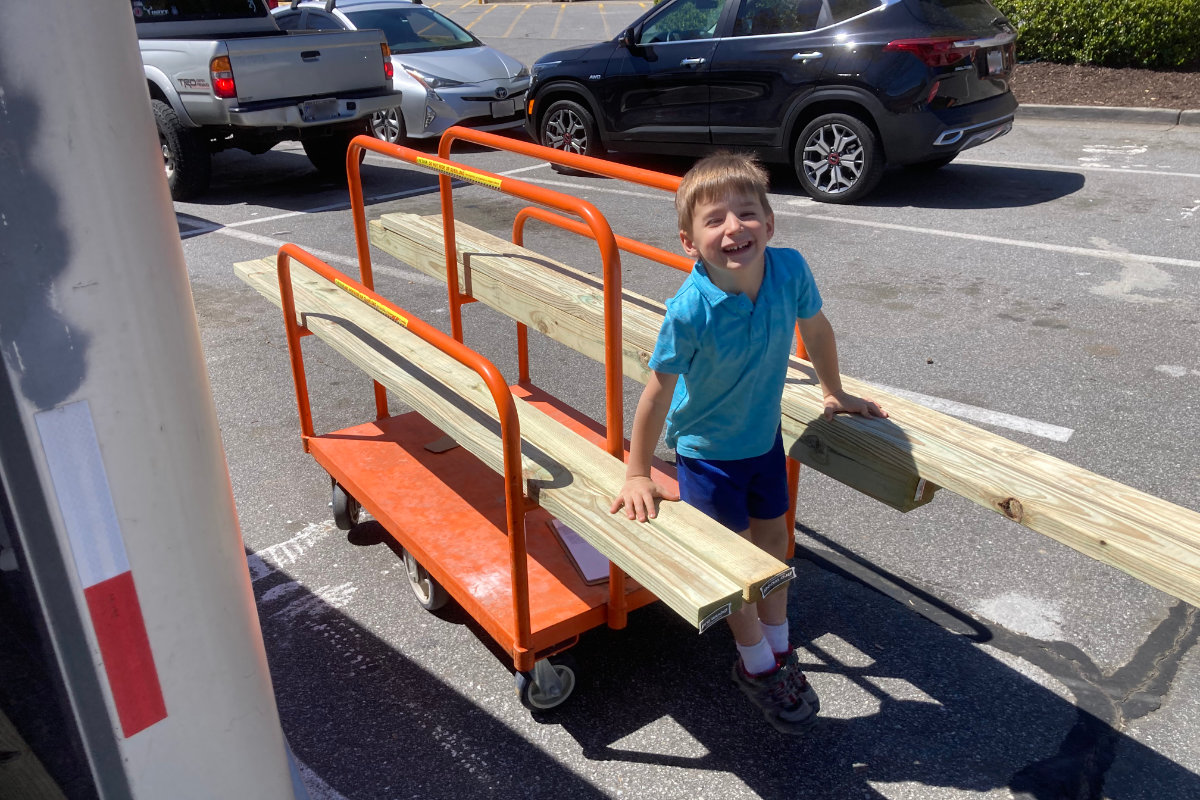
The plans were good but a bit dated and from a different region, so I had to make some adjustments along the way, including modifying the lumber based on what my local Home Depot carried.
I don’t own a truck, so I rented a U-Haul trailer to transport the lumber…and there was a lot of it. I already had some basic tools like a circular saw, chop saw, and table saw, and I purchased a few others such as a jigsaw and chisels. I broke it up into a few trips to make it more manageable…TBH it was more than a few.

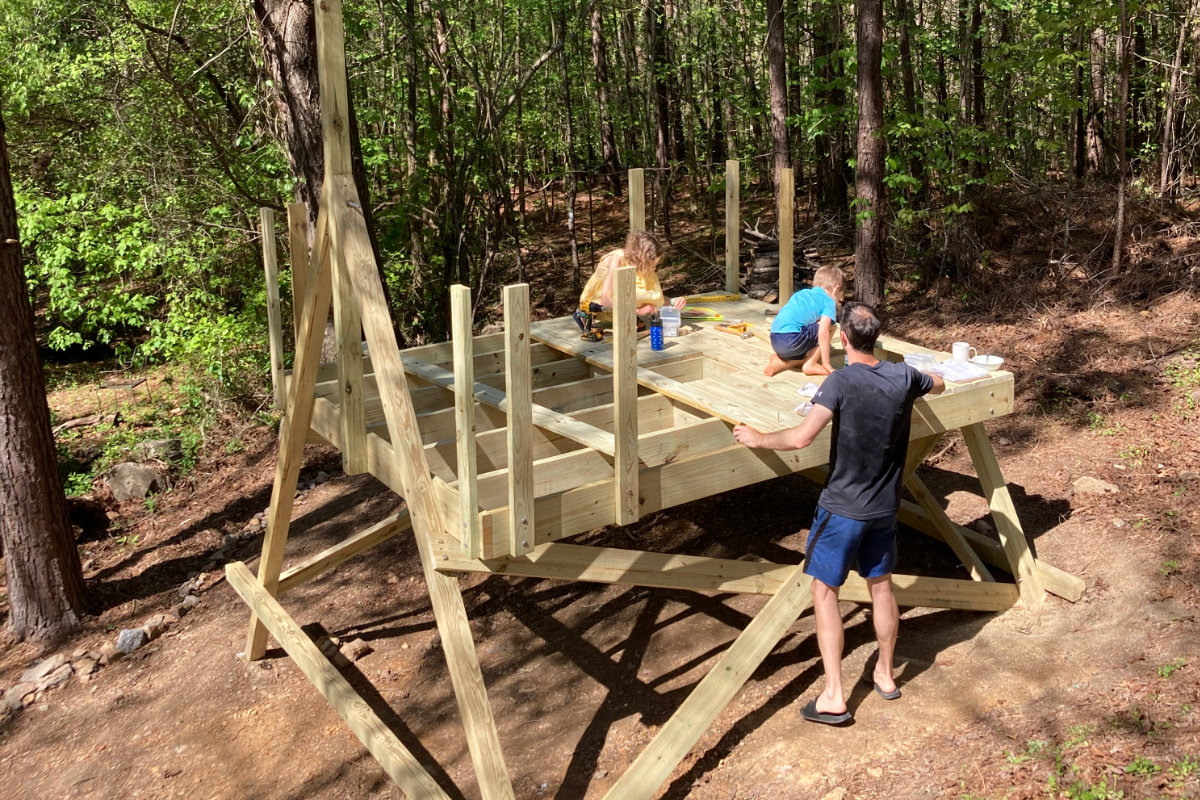
With the materials purchased, it was time to start preparing the site. The ground was covered with years of fallen leaves that needed to be cleared, along with an overhead branch that had to be removed. The treehouse support structure is triangular in shape and doesn’t need to be anchored down, but it does require a level surface. The ground was fairly uneven, so I used a line level to dig down and then placed concrete blocks for each leg to rest on.

Getting the basic structure in place was by far the hardest step for me, as digging was time-consuming and the beams were heavy. Once that part was done, everything started to come together much faster.
The platform was fun to build and used joists and hangers similar to a standard deck. After the joists were in place, the decking went down on top. And that’s when it really started to get exciting.

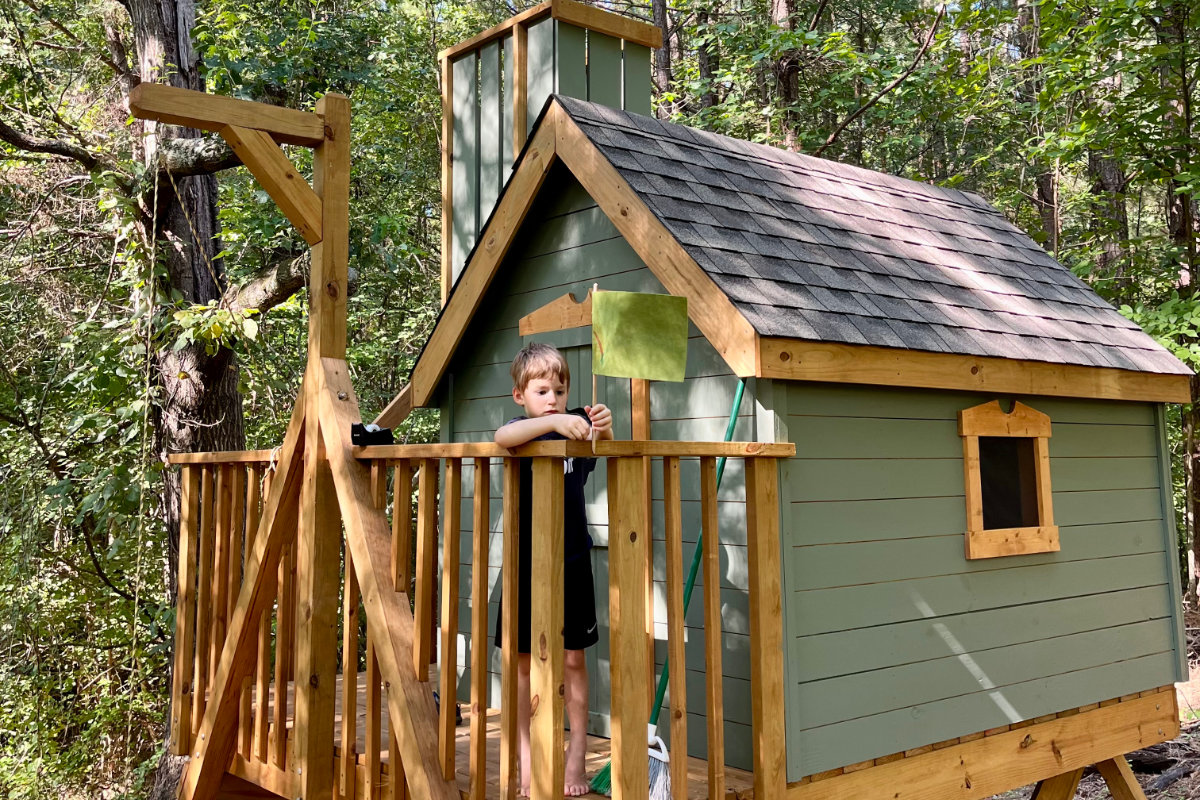
Building the clubhouse was much like constructing a small shed, with framing, siding, rafters, and a shingle roof. Instead of traditional siding, I decided to use shiplap because it was more affordable and it worked out great.

I used a solid-colored stain that didn’t require priming and chose a nice green color to help it blend in with the woods. For the rest, I used a transparent stain to maintain a rustic fort look.

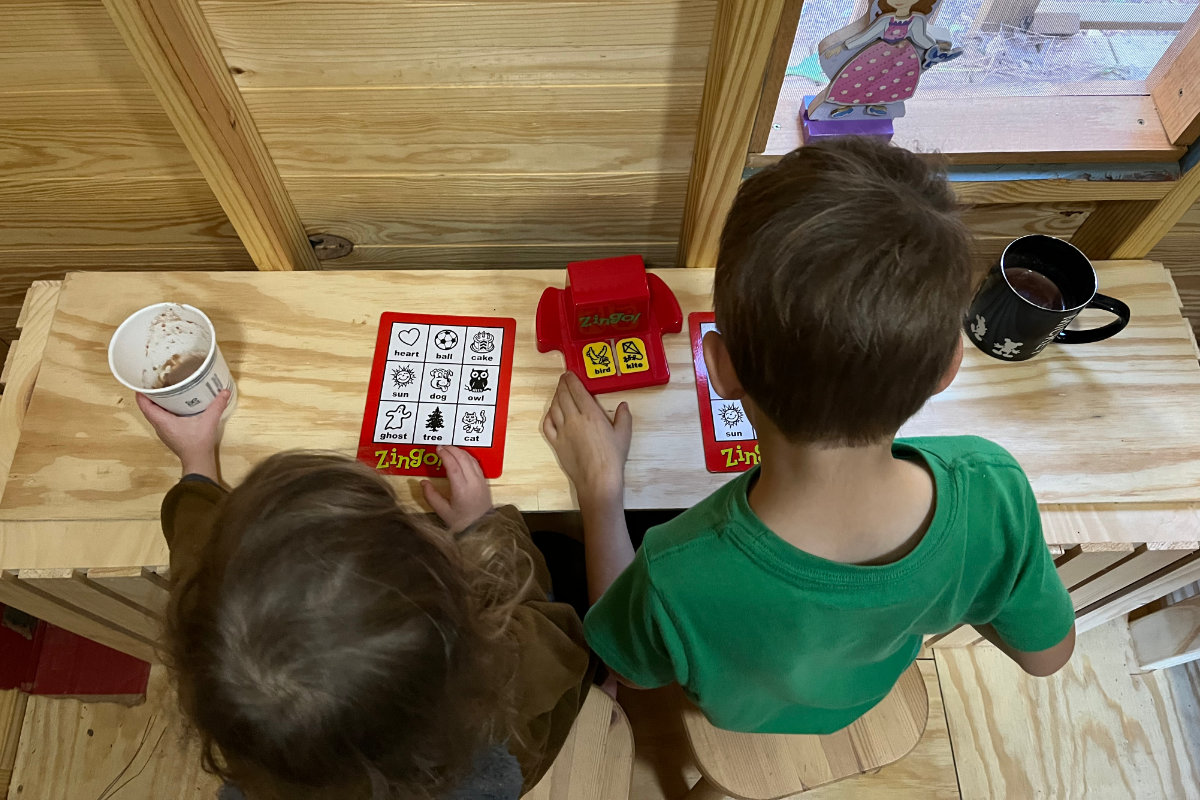
Toward the end of the project, I did some work at night just because I was on a mission to finish! I added a few extras like a solar-powered light, wall hooks, games, chairs and a table, and a rope ladder. I also coated the interior floor and bunk beds with acrylic polyurethane to give them a nice finish and help resist stains.
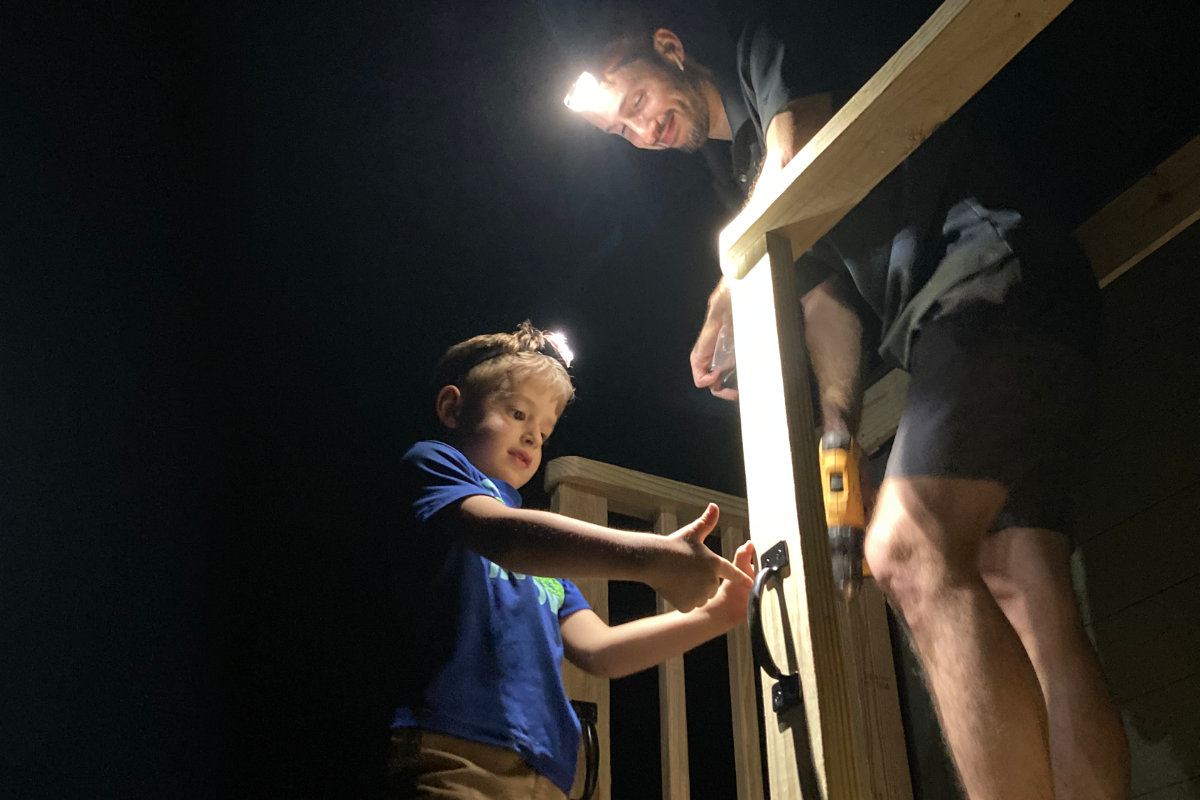

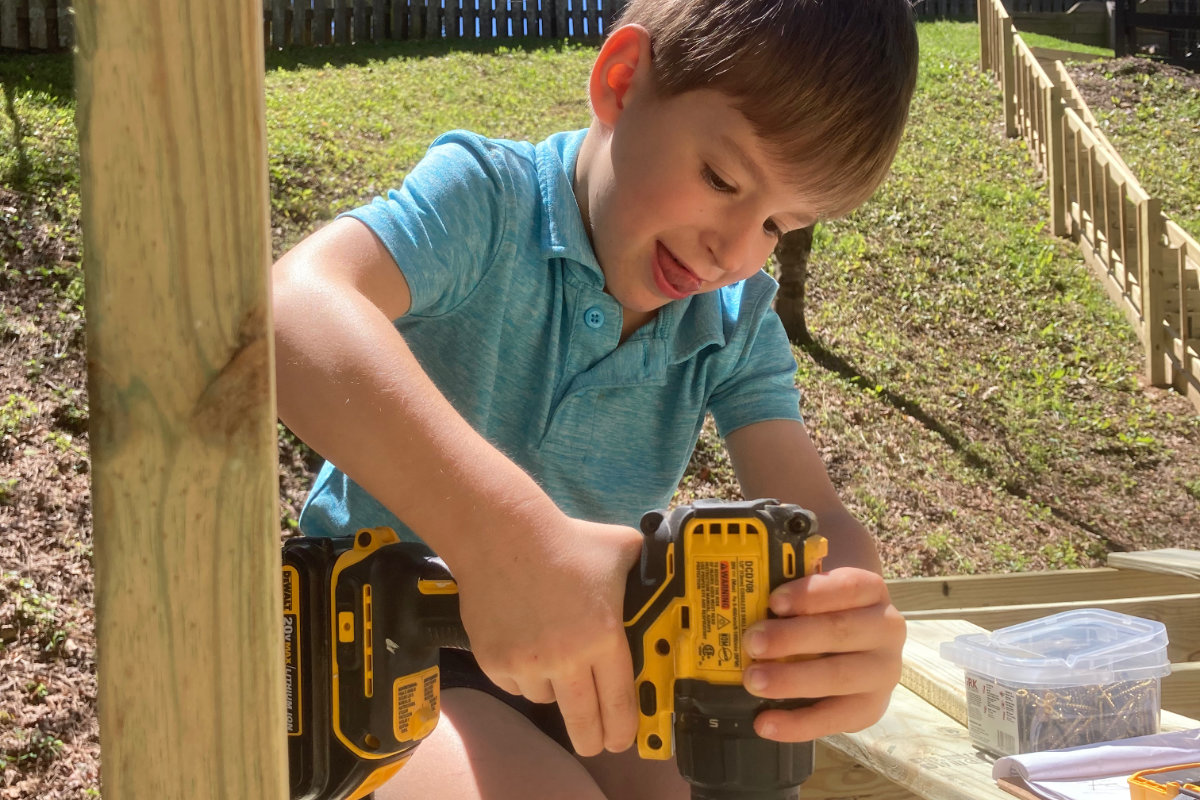
Everywhere possible, I involved the kids. As mentioned, we had already done some basic carpentry projects together (birdhouse, toy boats, toolbox), so they were excited to help with this bigger project. Involving them often slowed me down, but it was totally worth it. They helped with tasks like screwing in decking and siding, sanding, painting, measuring, and adding finishing touches like the handles on the trap door.
This project involved potentially dangerous tools and materials, so I handled all the hazardous tasks myself. However, there were plenty of other safe ways for the kids to help under close supervision.
If I built this again, I’d make a few minor changes and upgrades.
Bigger Windows: The location is down among the trees and doesn’t get full sun, and the windows are fairly small. I think larger windows would have been a nice improvement to add more natural light.
Vent or Fan: During the summer, the interior gets very hot. I think adding a ridge or gable vent with a fan would have helped. I might still add this later.
Support Legs: I had to dig down to level the surface for the legs, which means some of them are partially buried in the ground and will rot faster. Pouring concrete into the holes and using anchors would have been a better choice to keep the wood above ground.
Zip Line or Slide: A slide off one side or a zipline into the woods would have been fun extras to add.
The project was a lot of work, but I really enjoyed the challenge, the learning experience, and the time spent outside building something cool with my kids. It’s now a fun place for them to play, spend the night, or use as a base for their backyard adventures. There are certainly easier options out there but this was a memory-building project we’ll enjoy for years to come.
If you want more inspiration, check out our YouTube channel or our project on building a kids’ bike ramp. If you’ve made it this far, thanks for reading! Now get out there and do mighty things!

Authenticity is one of our core values. This content was created by real people. Imagery and stories were not generated by AI.
