
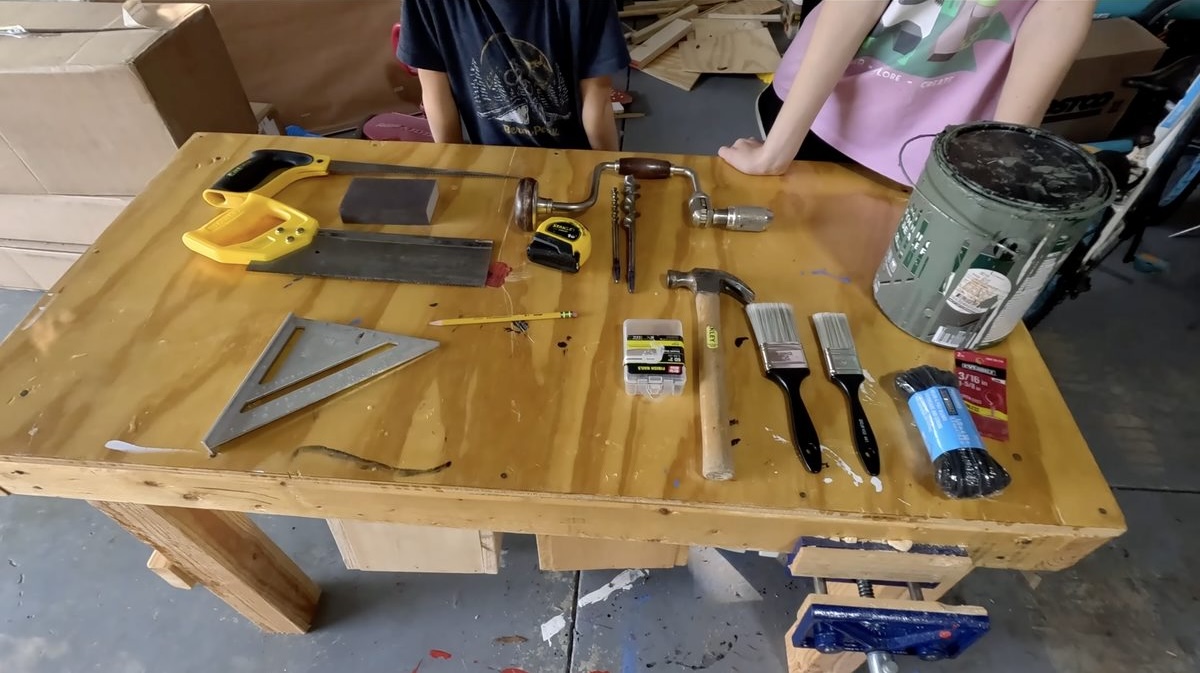
We built a birdhouse with the kids last year and birds actually moved in and made a nest. That felt like enough of an endorsement to build another one. This time we challenged ourselves to use nothing but hand tools, which slowed things down in a good way and meant the kids could be involved in almost every step.
This is one of those projects that hits a sweet spot: it costs $20 to $30, takes an hour or two, teaches real skills like measuring, cutting, drilling, and assembly, and produces something that lives in your yard and does something meaningful. Beginner-friendly, genuinely satisfying, and a great first carpentry project for kids.
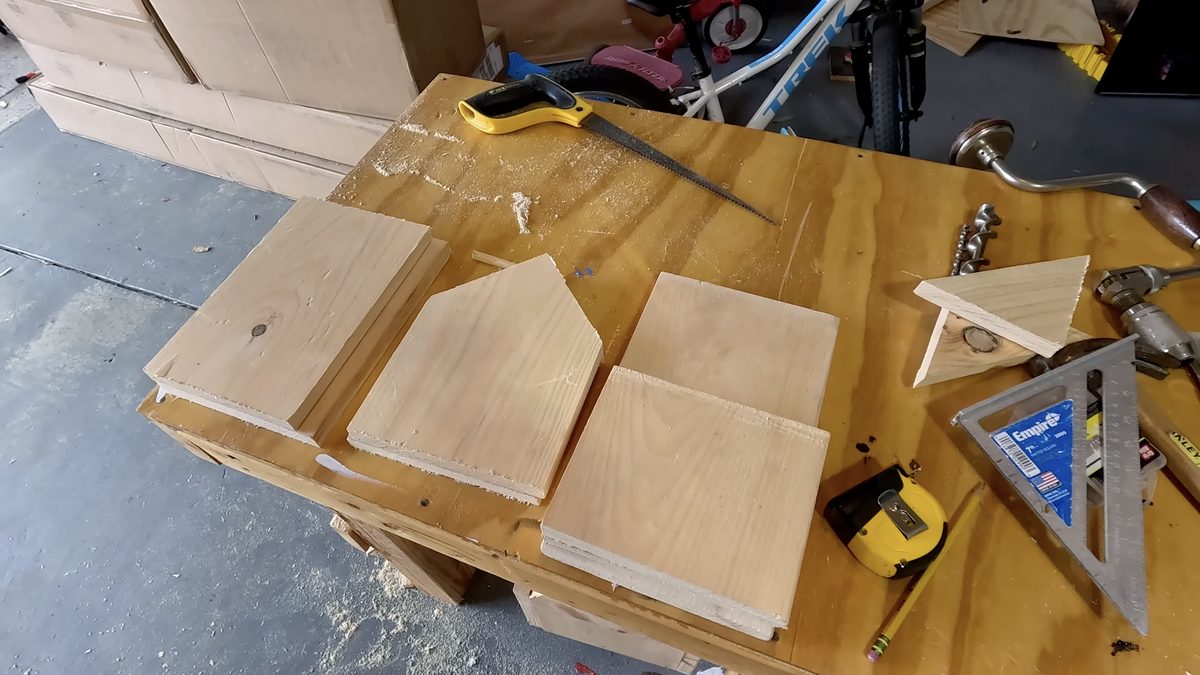
From your 1x8 lumber, cut the following pieces:
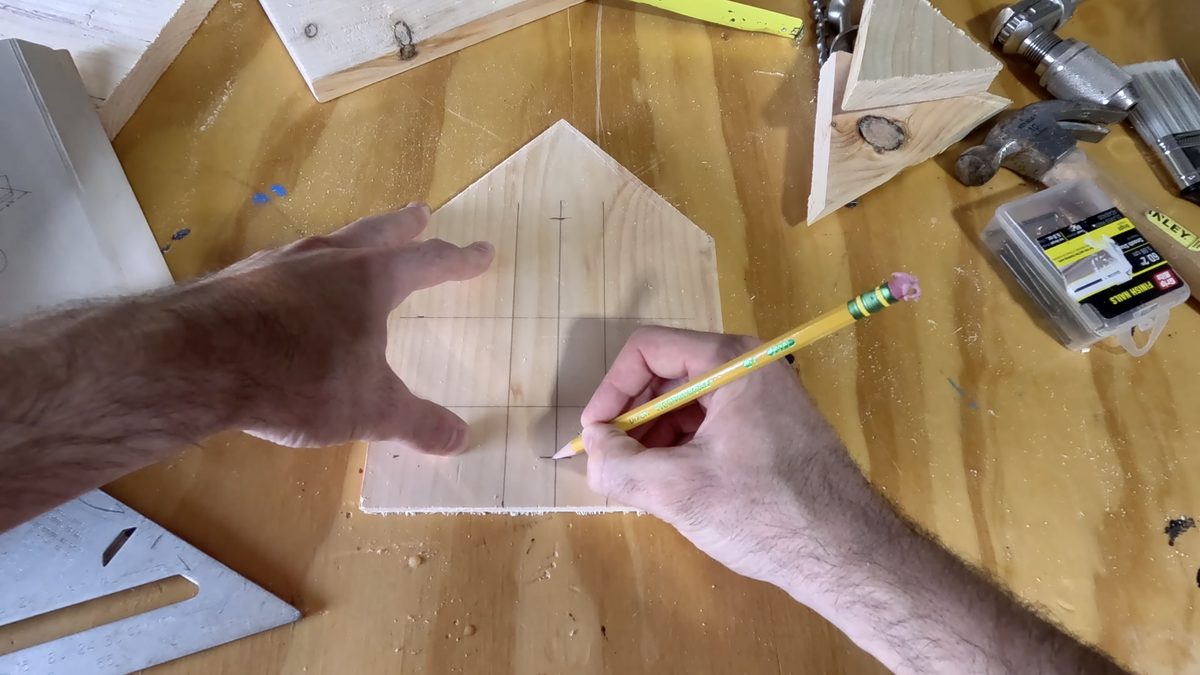
Front panel:
Draw a vertical center line down the middle of the board. Measure 1 inch to the left and right of center and draw two more vertical lines, creating a 2-inch-wide column. Then measure 2 inches and 4 inches up from the bottom edge and draw horizontal lines to complete the grid. This gives you a 2-inch square in the center that will become the entry opening.
Mark two points on the center line: 1 inch up from the bottom edge for the perch hole, and 6-1/2 inches up from the bottom edge for the entry hole.
Back panel:
Draw a vertical center line and mark the window center at 6-1/2 inches up from the bottom edge. This rear window helps with ventilation and makes it easier to clean out the house between seasons.
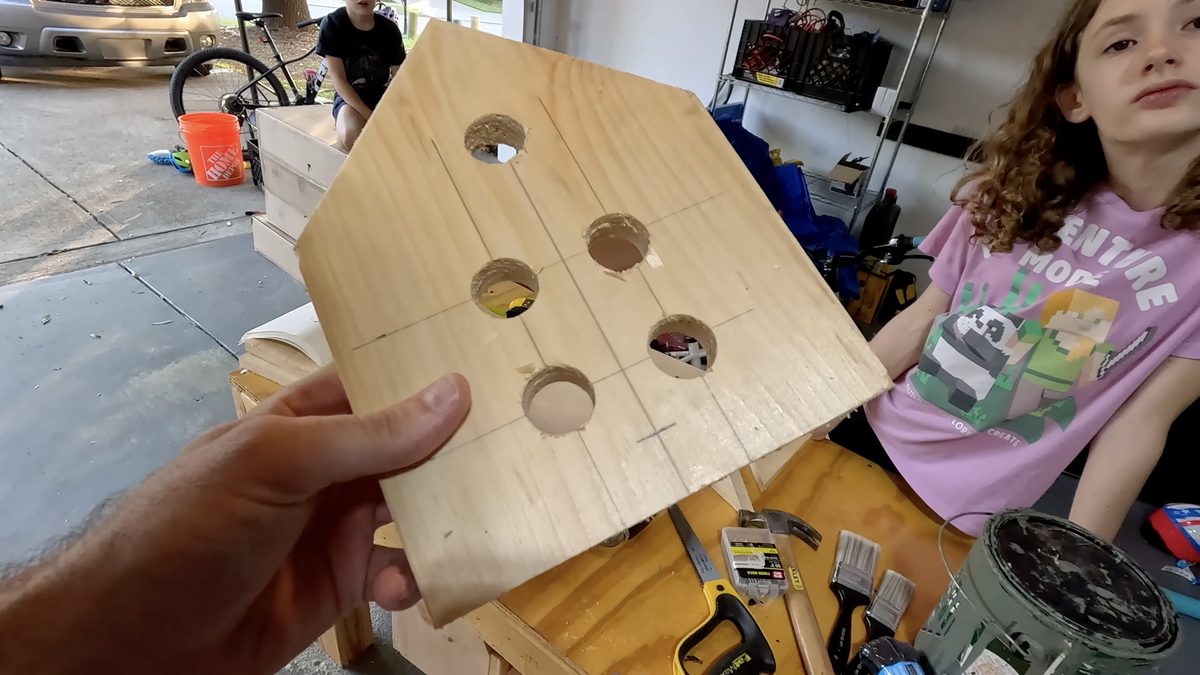
Before assembly, drill all your holes while the pieces are still flat and easy to work with.
Use a 1" bit for the entry opening on the front and the window on the back. For cleaner holes with less tear-out on the wood, drill halfway through from one side, then flip the piece and finish from the other side. This keeps the edges clean and prevents blowout.
Use a 3/8" bit for the perch hole on the front panel, positioned 1 inch up from the bottom on the center line.
When drilling the four corner holes to cut out the square entry opening, place them where the lines cross. Then use your compass saw, keyhole saw, or jigsaw to connect the holes and remove the square.
Sand all pieces before assembly. It's much easier to sand flat boards now than to get into corners after everything is nailed together. This is also a great job to hand off to younger kids who aren't ready for cutting and drilling yet.
Worth asking: do bird feet get splinters? We discussed this. Consensus was no, because their feet are hard. Sanding it anyway.
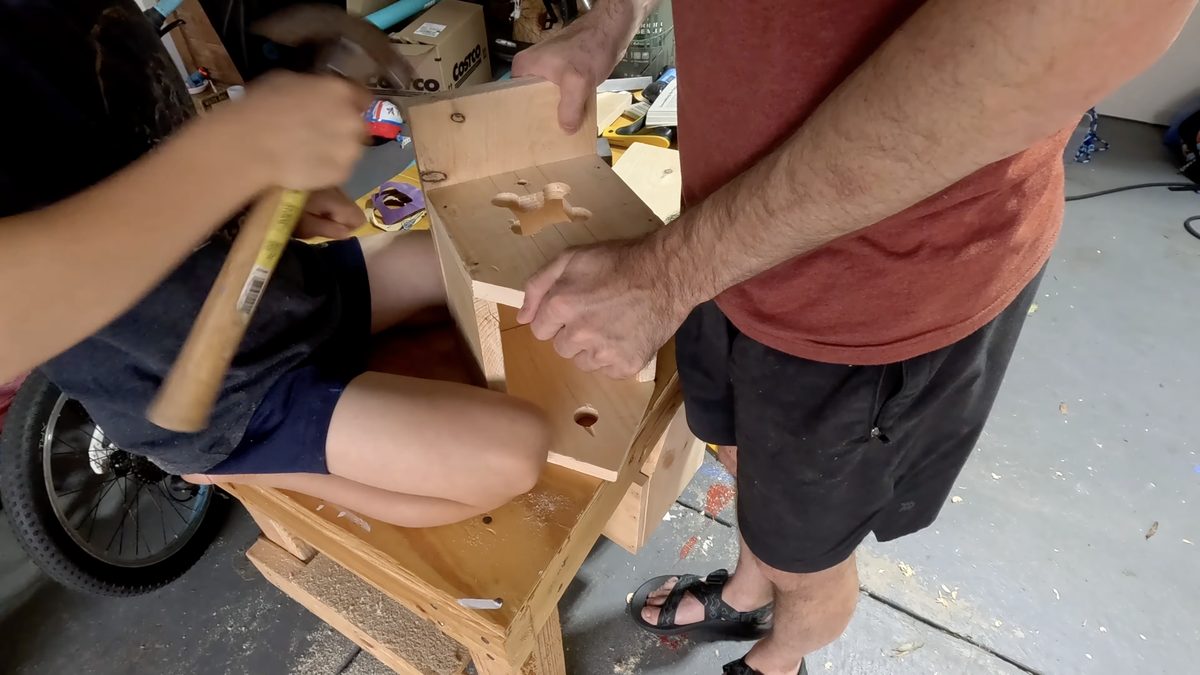
Using 6D finish nails and wood glue, nail the sides to the bottom, then attach the front and back panels. A few tips here:
Finish nails bend easily. Drive them in as straight as you can, and if one starts going crooked, pull it out and start a new hole rather than trying to muscle it straight.
Be careful not to drive a nail into the perch hole area on the front panel. It's easy to do without thinking about it.
When starting any cut during the build, use a carpenter's square as a guide for your saw blade. It makes a noticeable difference in keeping cuts straight, especially for kids who are still getting comfortable with a saw.
The roof is two pieces with one slightly shorter than the other by 3/4 of an inch. This offset allows one panel to overlap the other, creating a proper peaked roof that sheds water. Nail the shorter panel on first, then overlap the longer panel on top. It should look like a classic pitched roof when done.
Apply a small amount of wood glue to the 2-1/2" dowel piece and insert it into the 3/8" perch hole. Let it dry.
Screw the screw eye into the top peak of the roof for hanging. Thread paracord or wire through it and you're ready to hang.
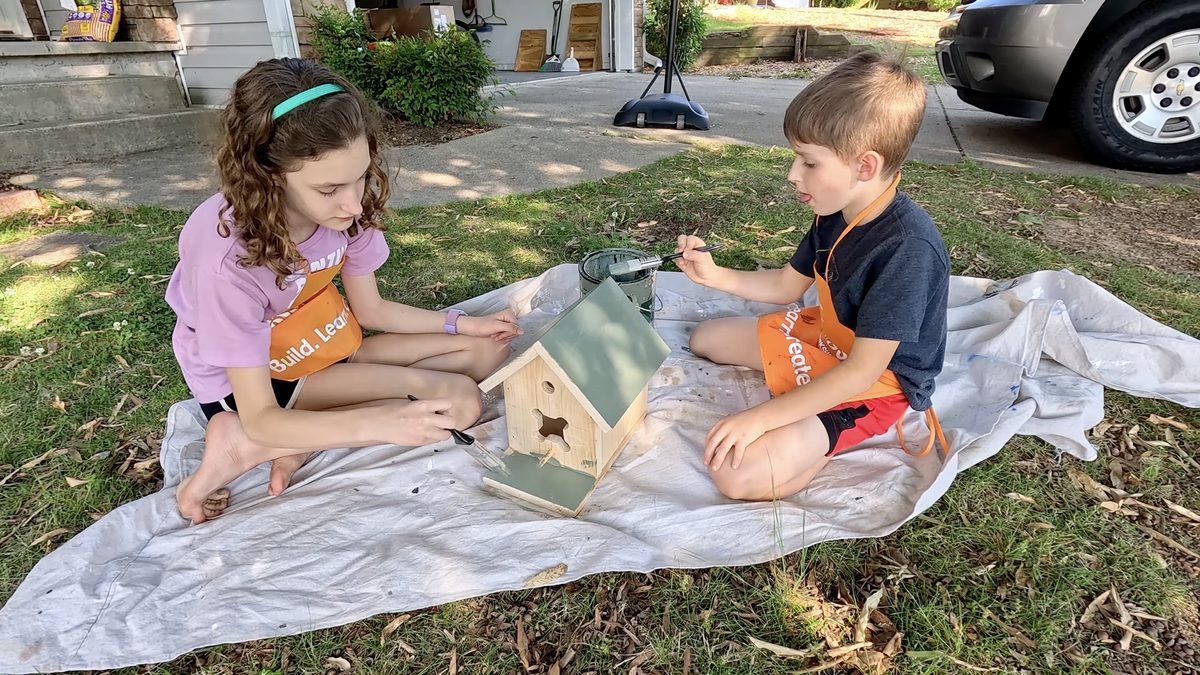
Use exterior paint since this is going outside. We used stain left over from our treehouse build, which worked great and gave it a natural wood look. Let the kids pick the color and do the painting. It's their project.
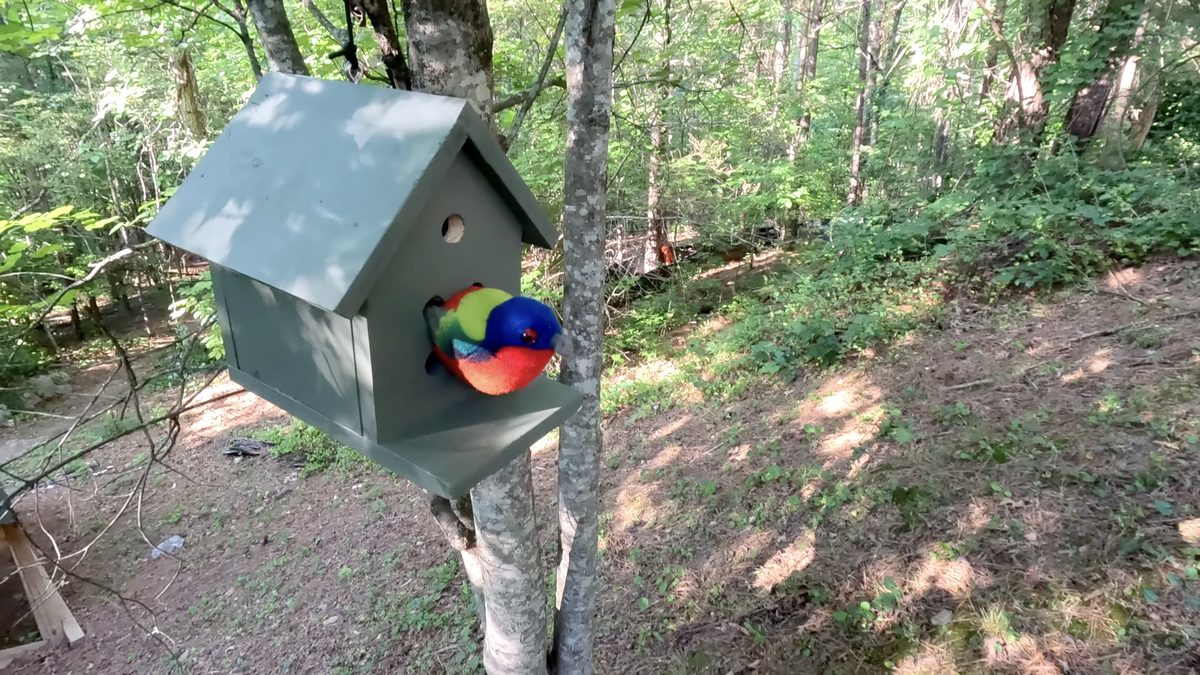
When hanging, find a spot that's visible from a window so you can actually watch if anything moves in. We hung ours where we could see it from the treehouse. A bird showed up before we'd even finished cleaning up. Whether he was interested in the house or just investigating the commotion, we're choosing to count it as an endorsement.
Common board lumber gives a cleaner finish. It costs a little more than standard lumber but has a smoother surface that's easier to paint and looks better when done.
Drill from both sides for clean holes. Drilling halfway from one face, then flipping and finishing from the other side prevents the wood from blowing out on the exit side.
Let kids do the nailing. Finish nails are forgiving enough for kids to practice with a hammer and the occasional bent nail is not a crisis. Pull it out and try again.
The rear window matters. It's not just decorative. It provides ventilation and gives you a way to clean out old nesting material at the end of the season, which encourages birds to return.
Hand tools are worth trying. We used a brace and bit instead of a power drill and it turned the drilling step into something the kids genuinely competed over. Slower, but more fun.
We built ours and had birds in it within a season. There's something genuinely satisfying about that as a payoff for an afternoon project. Build it, hang it, and then keep an eye on it.
If your kids get the building bug from this one, check out our DIY toolbox build for a good next project, or the DIY tugboat if they want something they can float in a creek.