Watch the full build and epic test results in the video above 👆
Looking for a fun STEM project to tackle with your kids this weekend? Or maybe you just want to shoot stuff and call it "educational"? Either way, building a potato cannon checks all the boxes.
This project combines hands-on construction, basic physics principles, and the undeniable thrill of watching potatoes soar hundreds of feet through the air. It's the kind of thing that gets kids genuinely excited about science, and if we're being honest, dads too.
We built ours on a Saturday morning, then spent Sunday afternoon experimenting at a local football field to measure distance, altitude, average velocity, and more. We may have gotten a little carried away. But that's the point, right?
So, here's everything you need to know to build your own potato cannon.
Almost everything you need can be found at a local hardware store. The total cost can reach ~$80+ if you are buying everything from scratch, but this will leave you with quite a few supplies you can use for other projects as well, such as PVC swords.
Build Materials:
Launch Supplies:
Tools:
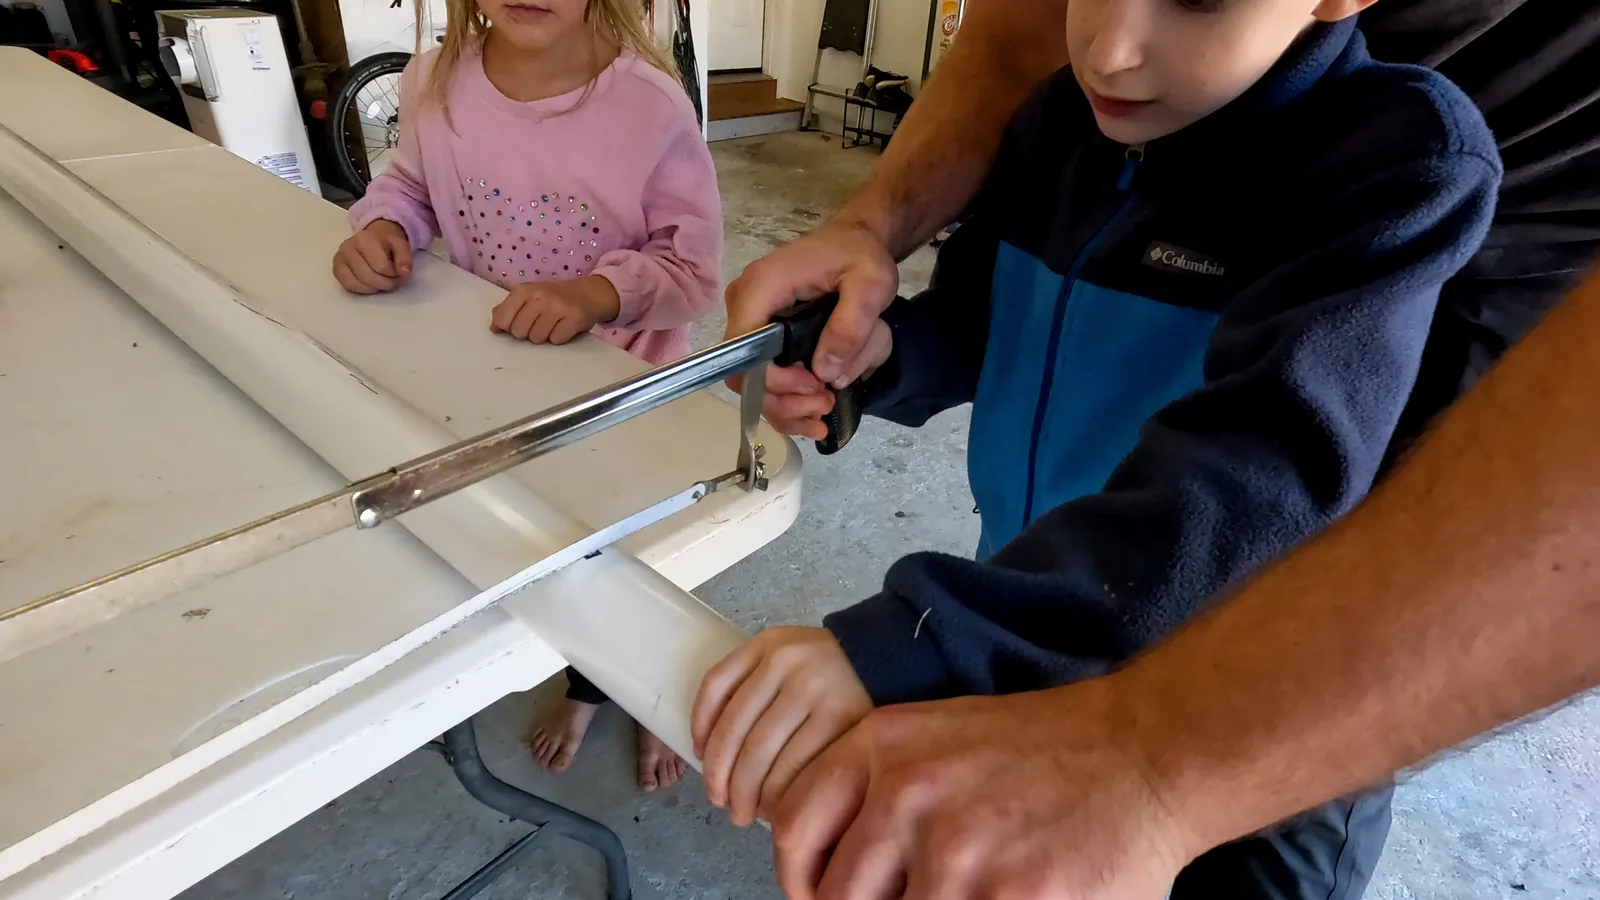
Measure and cut your PVC:
Use a hacksaw or other type of saw. PVC is pretty easy to cut, but if your edges are uneven, use a file or sandpaper to smooth everything out.
This is the business end where the combustion happens.
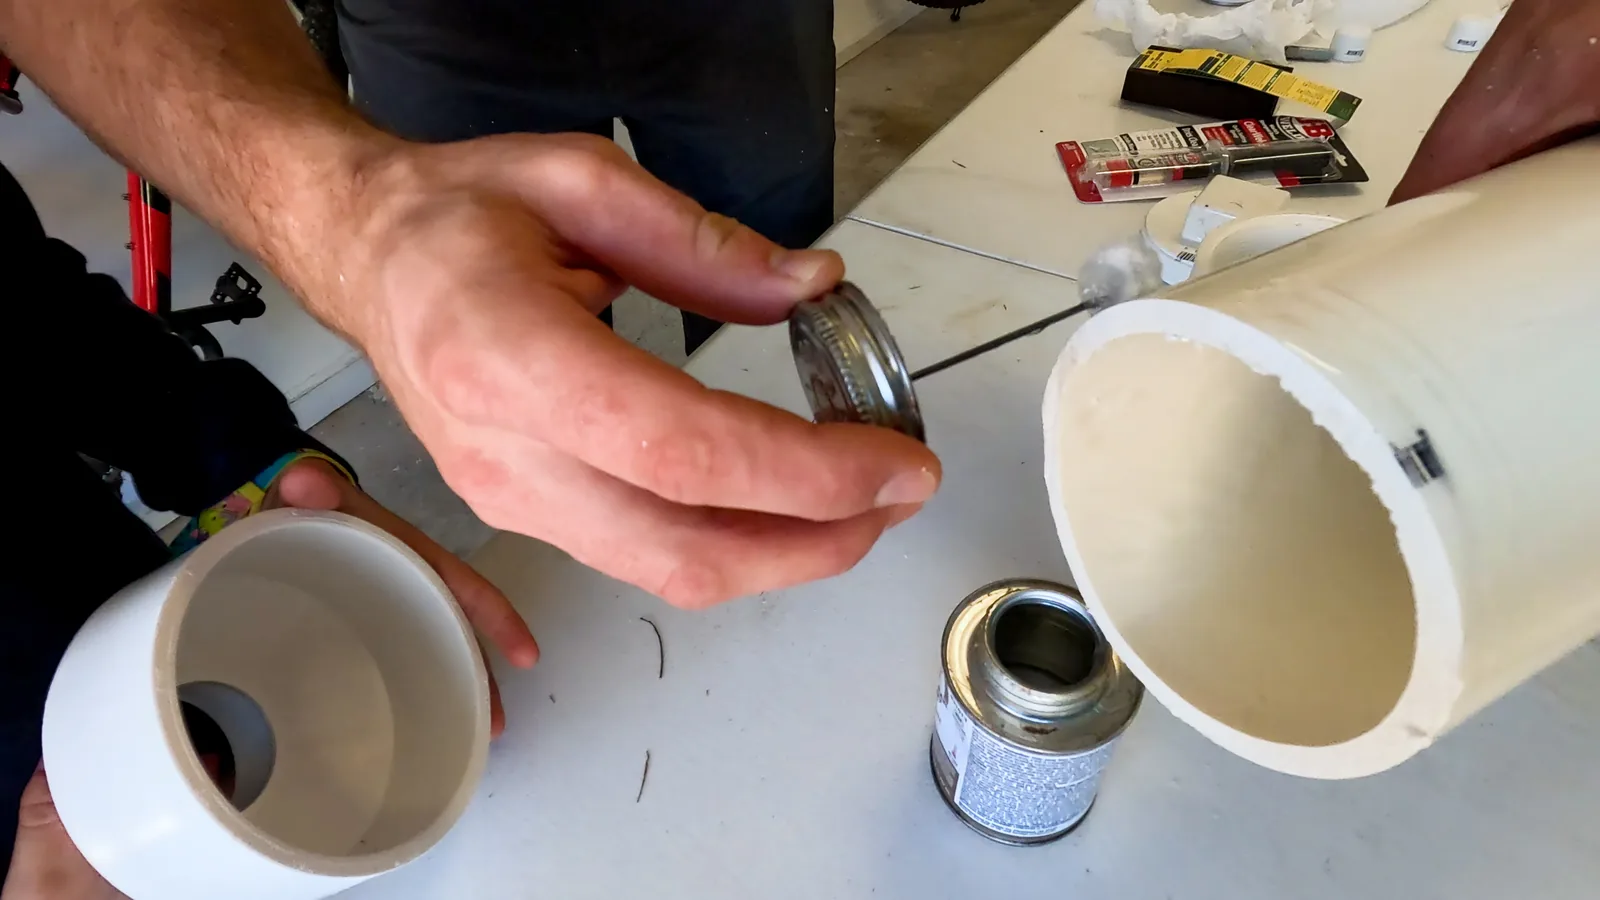
Prime and glue the 4" to 2" reducer coupling onto one end of your chamber. Then prime and glue the 4" female cleanout adapter with plug onto the other end of the chamber.
Important: Once you apply that glue, you've got about 30 seconds before it sets, so have everything lined up and ready.
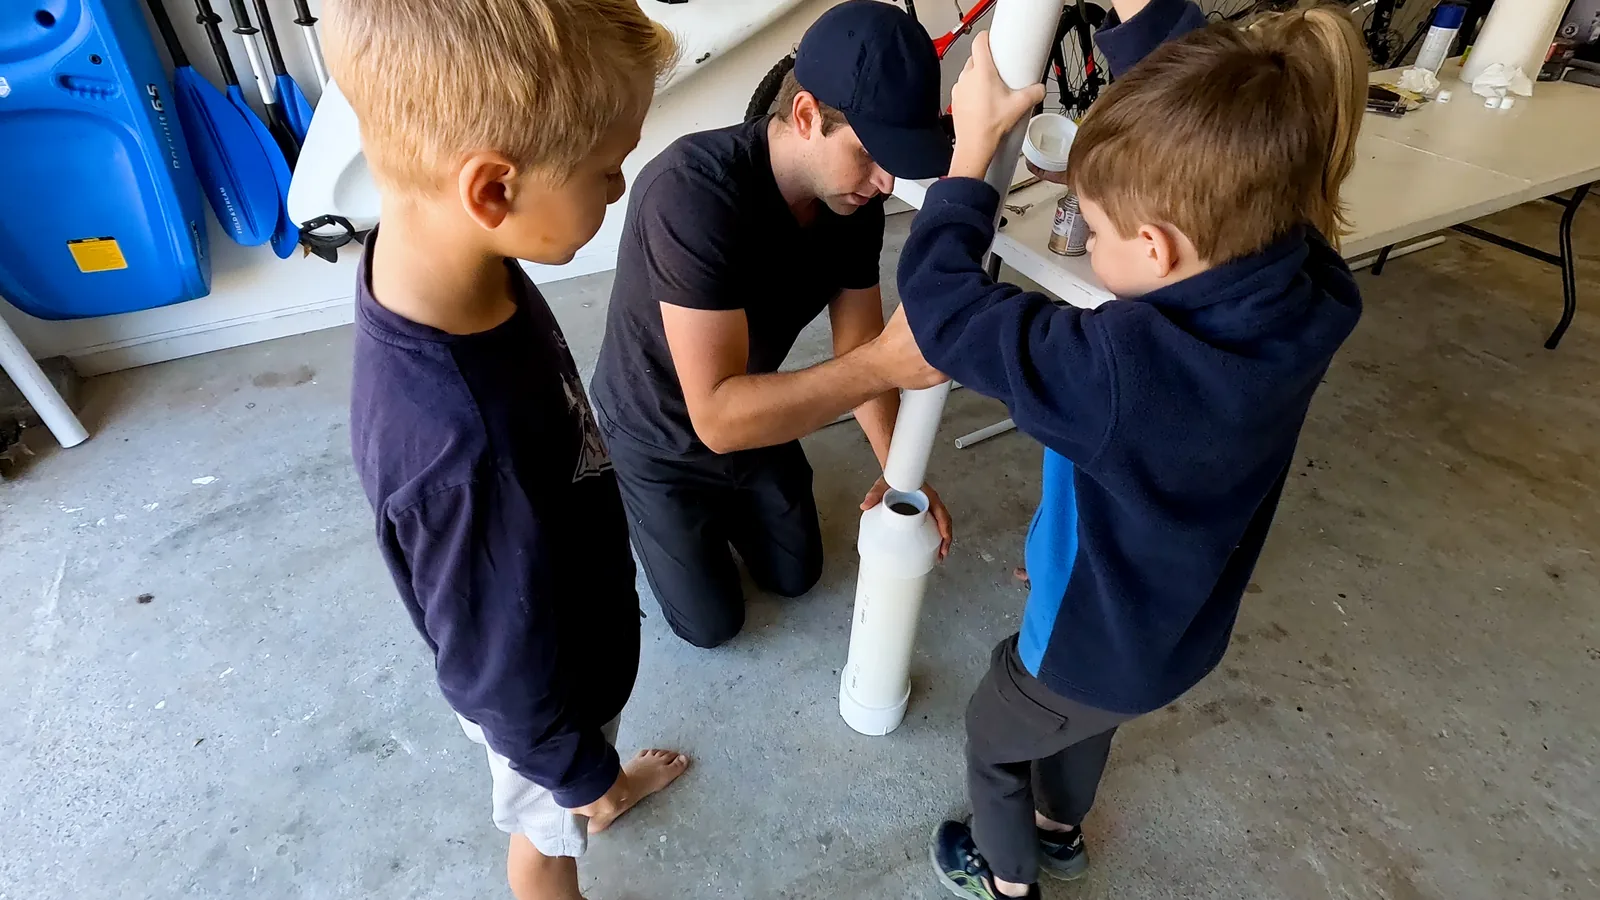
Prime and glue the barrel into the reducer coupling. Make sure it's seated fully. Let the whole assembly dry for at least 2 hours. If you’re going to paint, now is a good time while the glue dries.
If you want your cannon to look legit instead of just like a random plumbing project, now's the time to paint. We used blue and black spray paint, and it worked pretty well. Might take a few coats to get an even finish.

Drill a hole in the chamber near the closed end (the cleanout adapter side). Size it so your igniter fits snugly with the electrode tip inside the chamber and the wires coming out.
Insert your igniter and use epoxy around the hole to seal it completely. Any gas leaking here means weaker launches and potential misfires. Let the epoxy cure fully per the package directions.
Drill a pilot hole and drive a screw into the barrel about 6-8 inches from where it is glued to the chamber. This prevents you from ramming the potato too deep so it falls into the chamber.
Moment of truth. Here's how to safely load and fire your new potato cannon:
Cut a potato to fit the barrel. Peel it a little if you need to make it fit. You want it snug enough that it won't just fall out, but not so tight that you have to force it. If you're struggling to ram it down, trim it a bit more. If the potato is too tight, it could cause your cannon to have a “rapid unscheduled disassembly”... I.e. it blows up in your face. Push the potato down the barrel with a broomstick or long dowel.
Here's where people mess up. You only need one or two VERY quick squirts of starter fluid into the chamber through the cleanout plug opening. We're talking like a half-second spray each, tops.
More fuel does NOT equal bigger boom. It equals misfire and frustration. The combustion chamber needs the right fuel-to-air ratio, and less is almost always more. When you are just getting started, expect to have a number of misfires until you figure out the right mixture.
Screw the cap on and shake it around a little to distribute the fuel vapor throughout the chamber. Give it a few seconds to evaporate properly.
Make sure everyone is at a safe distance and behind the cannon. Point it in a safe direction (away from people, houses, etc), and make sure you have a safe backdrop that will stop the potato.
Click the igniter.
If everything went right, you'll hear a satisfying BOOM and watch your potato disappear into the distance. If nothing happens, wait 30 seconds and click the igniter again. Sometimes it just needs a bit more time for the fuel to evaporate. If nothing happens, you’ll need to open the chamber and air it out and try again.
Clear the chamber before firing again. Combustion residue builds up fast and will cause misfires. We found that a leaf blower works great for this, just open the cleanout plug and blast air through for a few seconds. Way more effective than just waving it around or waiting for it to air out naturally.
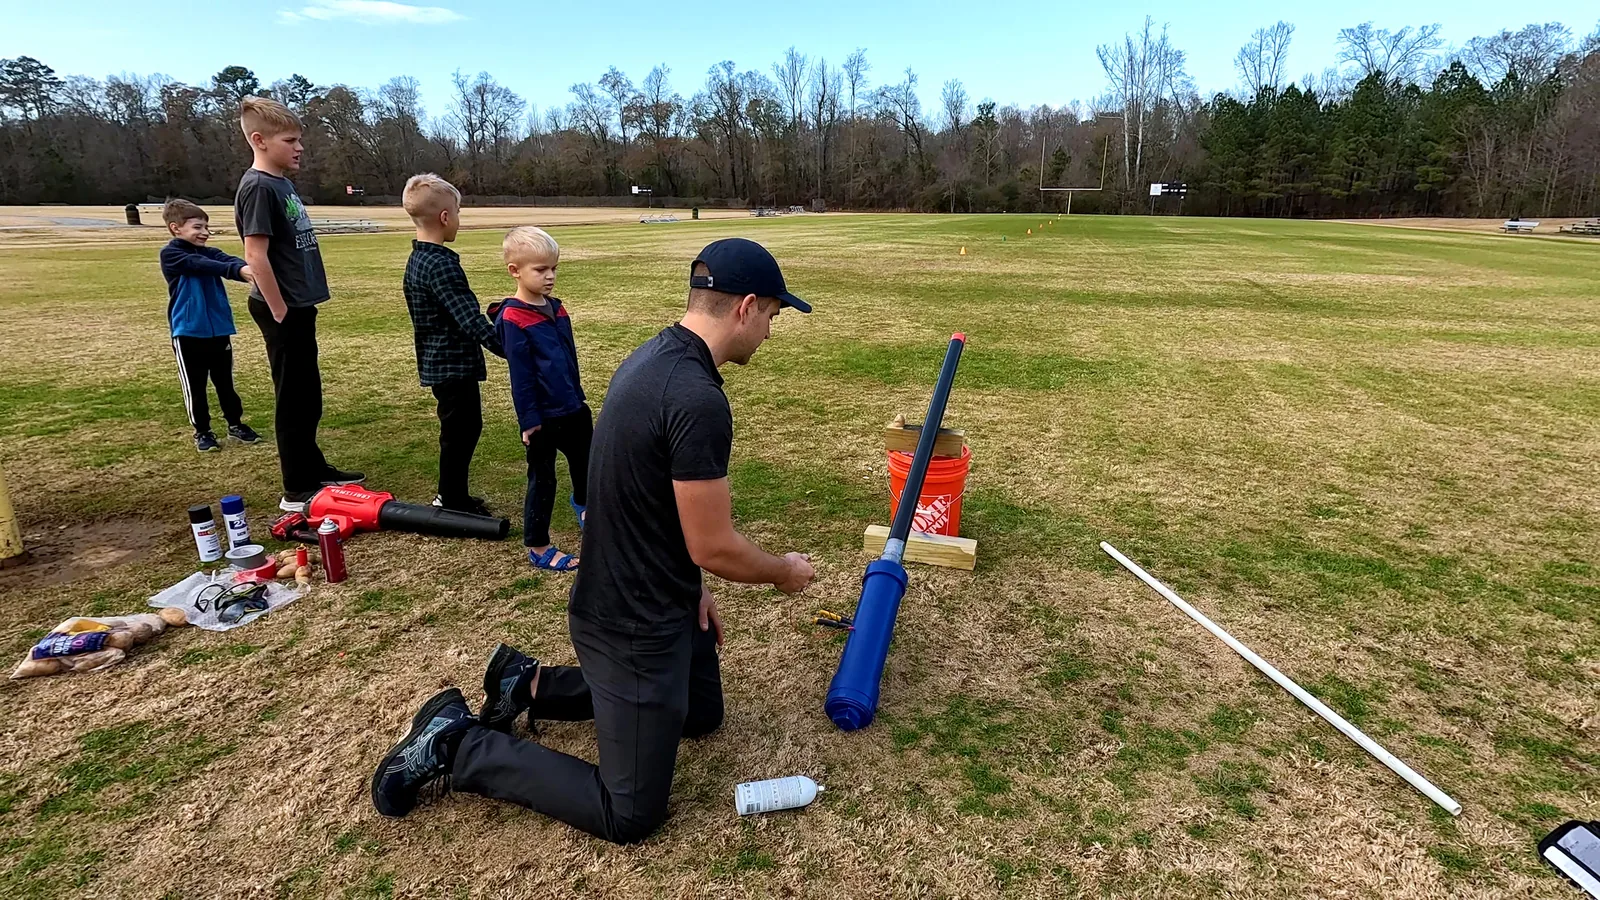
Once we got the cannon working reliably, we started testing to see what it could really do. We set up cones every 30 feet down the football field to measure distance.

Setup: Wide open football field with cones marking every 30 feet, standard russet potato, two quick squirts of starter fluid.
Results: The first shot cleared the entire field. We're talking 380 feet—about 15 feet past the far end zone. The calculated average velocity was 72 mph. BOOM!
What we learned: Honestly, we weren't expecting it to go quite that far on the first shot. The kids were pumped watching that potato sail way beyond what we thought possible. The key seemed to be getting the fuel amount just right. Not too much, not too little.
This was the one everyone was most excited about. We wanted POV footage from the potato's perspective.
Setup: We built a little contraption using a potato with a micro camera stuck in a tube attached to it. Duct-taped the whole thing together, loaded it into the barrel, and crossed our fingers.
Results: Three, two, one... BOOM. The camera launched and we watched it tumble through the air. When we found it in the grass, we were excited to see it was still recording. Unfortunately it was spinning so much the footage was kind of blurry. But still cool.
What we learned: Probably not the smartest idea to shoot a camera out of a potato cannon. :p
For our final test, we wanted to see how high this thing could launch. We duct-taped an altimeter to a potato, angled the cannon nearly vertical, and sent it skyward.
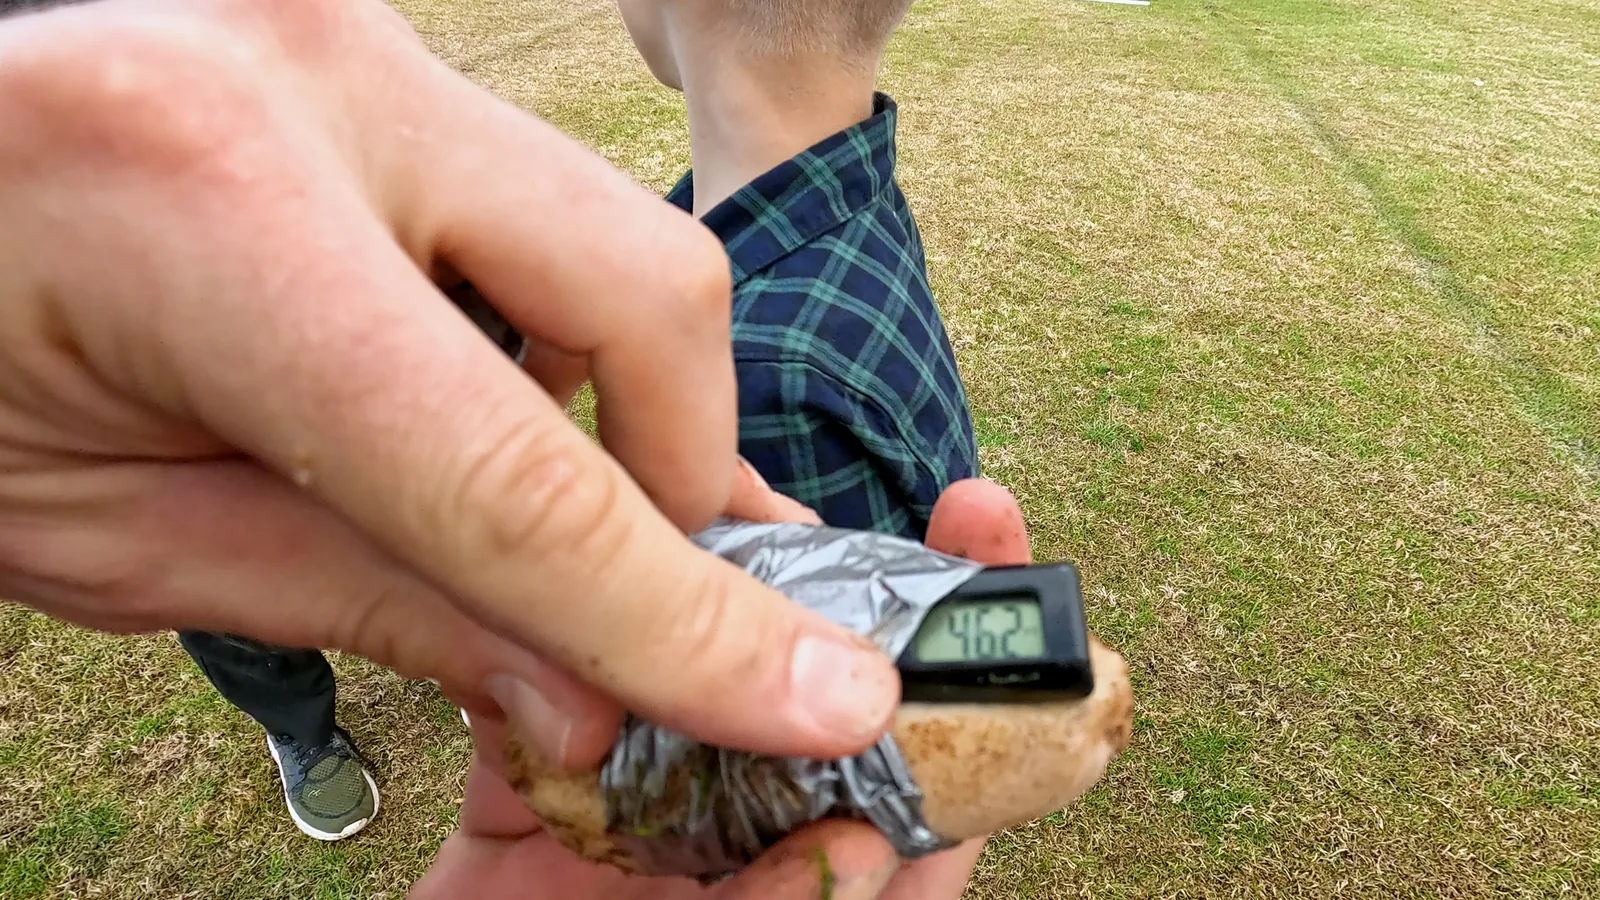
Setup: Cannon angled almost straight up (definitely a "mortar round" situation), altimeter duct-taped to the projectile, one quick squirt of fuel.
Results: 462 feet of altitude.
Watching that potato climb into the sky was incredible. It went so high we actually lost sight of it for a few seconds before it came back down. We dubbed it "Spudnik" as it returned to earth.
What we learned: Launch angle makes a huge difference. Shooting almost straight up gets dramatically different results than angling for distance. Having an altimeter gives you actual data instead of just guessing, which made the whole experiment more legitimate (and way cooler to the kids).
After building and testing ours extensively, here's what we wish we'd known from the start:
Less fuel is more. One or two quick squirts max. We're talking a half-second spray. The combustion needs oxygen, and too much starter fluid displaces all the air. You'll waste time and fuel trying to figure out why it won't fire if you overdo it.
Get the potato fit right. Peel it a bit to make it fit snugly. Too loose and it just rolls out with a pathetic pop. Too tight and you risk blowing up the cannon..
The leaf blower trick is a game-changer. Just blast air through the chamber between shots to clear out the combustion residue.
Shake it around after adding fuel. This distributes the vapor throughout the chamber for better ignition. Just cap it, give it a few shakes, and you're ready to fire.
Building a potato cannon turned into one of those projects that exceeded expectations. The build took us a couple hours (including drying time), and we spent several more hours running experiments, adjusting techniques, and seeing what this thing could do. Each launch was exciting.
Is it educational? Absolutely. The kids learned about combustion, trajectory, velocity measurement, and our version of the scientific method. Is it also just really fun to blow stuff up and launch potatoes hundreds of feet? Also absolutely yes.
So, head to Home Depot, grab some PVC and build something that goes BOOM. Your kids will think you're the coolest parent ever, and you'll have a legitimate excuse to launch produce across a field while collecting actual scientific data. Win-win.
Safety Disclaimer: This project involves combustion, flammable materials, and high-velocity projectiles. It is potentially dangerous and may be illegal in some jurisdictions. Adult supervision is absolutely required. Always follow local laws and regulations. Use at your own risk in appropriate locations away from people and property. We accept no liability for injuries, property damage, or legal issues resulting from building or using devices based on this guide. Seriously, be smart about this.
